Are you an adventurer and want to climb the highest mountain on the North of Africa? Well, then Toubkal is your objective and here is where you’ll find all the information you need to prepare such a journey.
The basics of my trip to Toubkal:
Duration: 4 days/3 nights
Date of travel: from October the 1st to October the 4th, 2017
Travel partner: my boyfriend
Time of preparation: a month
In this post you will find the Toubkal route dividing it by the different terrains and difficulties you will encounter, extremely useful information especially if you plan to do the trekking by your own, but as it will also give you an idea of what to expect from climbing Toubkal, I encourage you to read it even if you go with a guide.
I also recommend you to read my related post ‘Toubkal trekking experience’, a summary of everything you need to know to plan your trek to Toubkal: from the basic information such as where does it start and how to get there to a guide of what you need to do to plan for this kind of adventure, either when you go with a guide or by your own.
You can check here other posts about my trip to Morocco. These are the ones currently available:
- Visiting Marrakech
- 7 tips and utilities to survive Marrakech
- What you should know before visiting the desert of Merzouga
- A 3-day trip to the desert of Merzouga
- Toubkal trekking experience
Contents
1. Basic information
Toubkal, at 4,167 metres (13,671 ft), is the highest peak of the Atlas Mountains, the North of Africa and the Arab World. It is located at 67 km (42 mi) from Marrakech, at 1.30 hours drive.
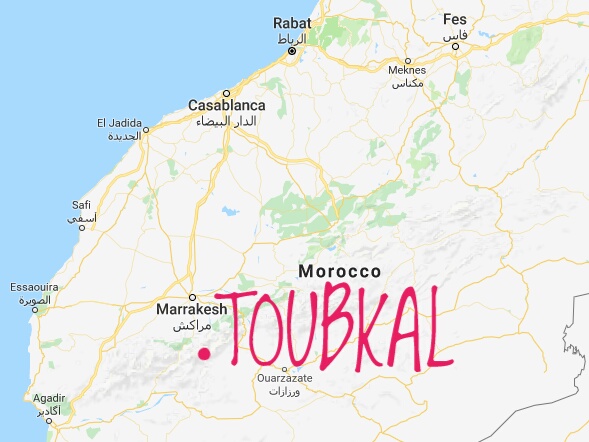 Toubkal location
The route starts at the town of Imlil (1,740 m or 5,709 ft). With 15 km (9.4 mi) to walk and an ascension of 2,427 m (7,962 ft) –and then return-, it usually takes two days to complete the summit and return to Imlil, although there are a lot of alternative options: running the route and completing it in one day or doing it more calmly in three days; spending a few days at the refuge and visit not only the summit but the surroundings too; taking a circular route instead of the lineal one…
There are two refuges and a campsite to sleep. All of them are at 3,200 m (10,499 ft), 11.4 km (7 mi) from Imlil and they are separated only a few metres from each other.
Toubkal can be done by your own or hiring a guide and/or porters (mules).
Climbing Toubkal does not require any special skill apart from general fitness and determination. The path is clear and easy to walk and although you can expect some altitude sickness especially when approaching the summit, I believe everyone who is in a good physical condition, has some general knowledge of mountaineering and has prepared thoroughly this trip can reach the summit.
This lack of extreme difficultness is why Toubkal is full with Europeans in search of adventure. In Spain, Toubkal is a very popular destination (especially during Easter) because in our country we don’t have any summit over 4,000 m, and the alternative options we have in Alps are notoriously difficult.
1.1. Our route
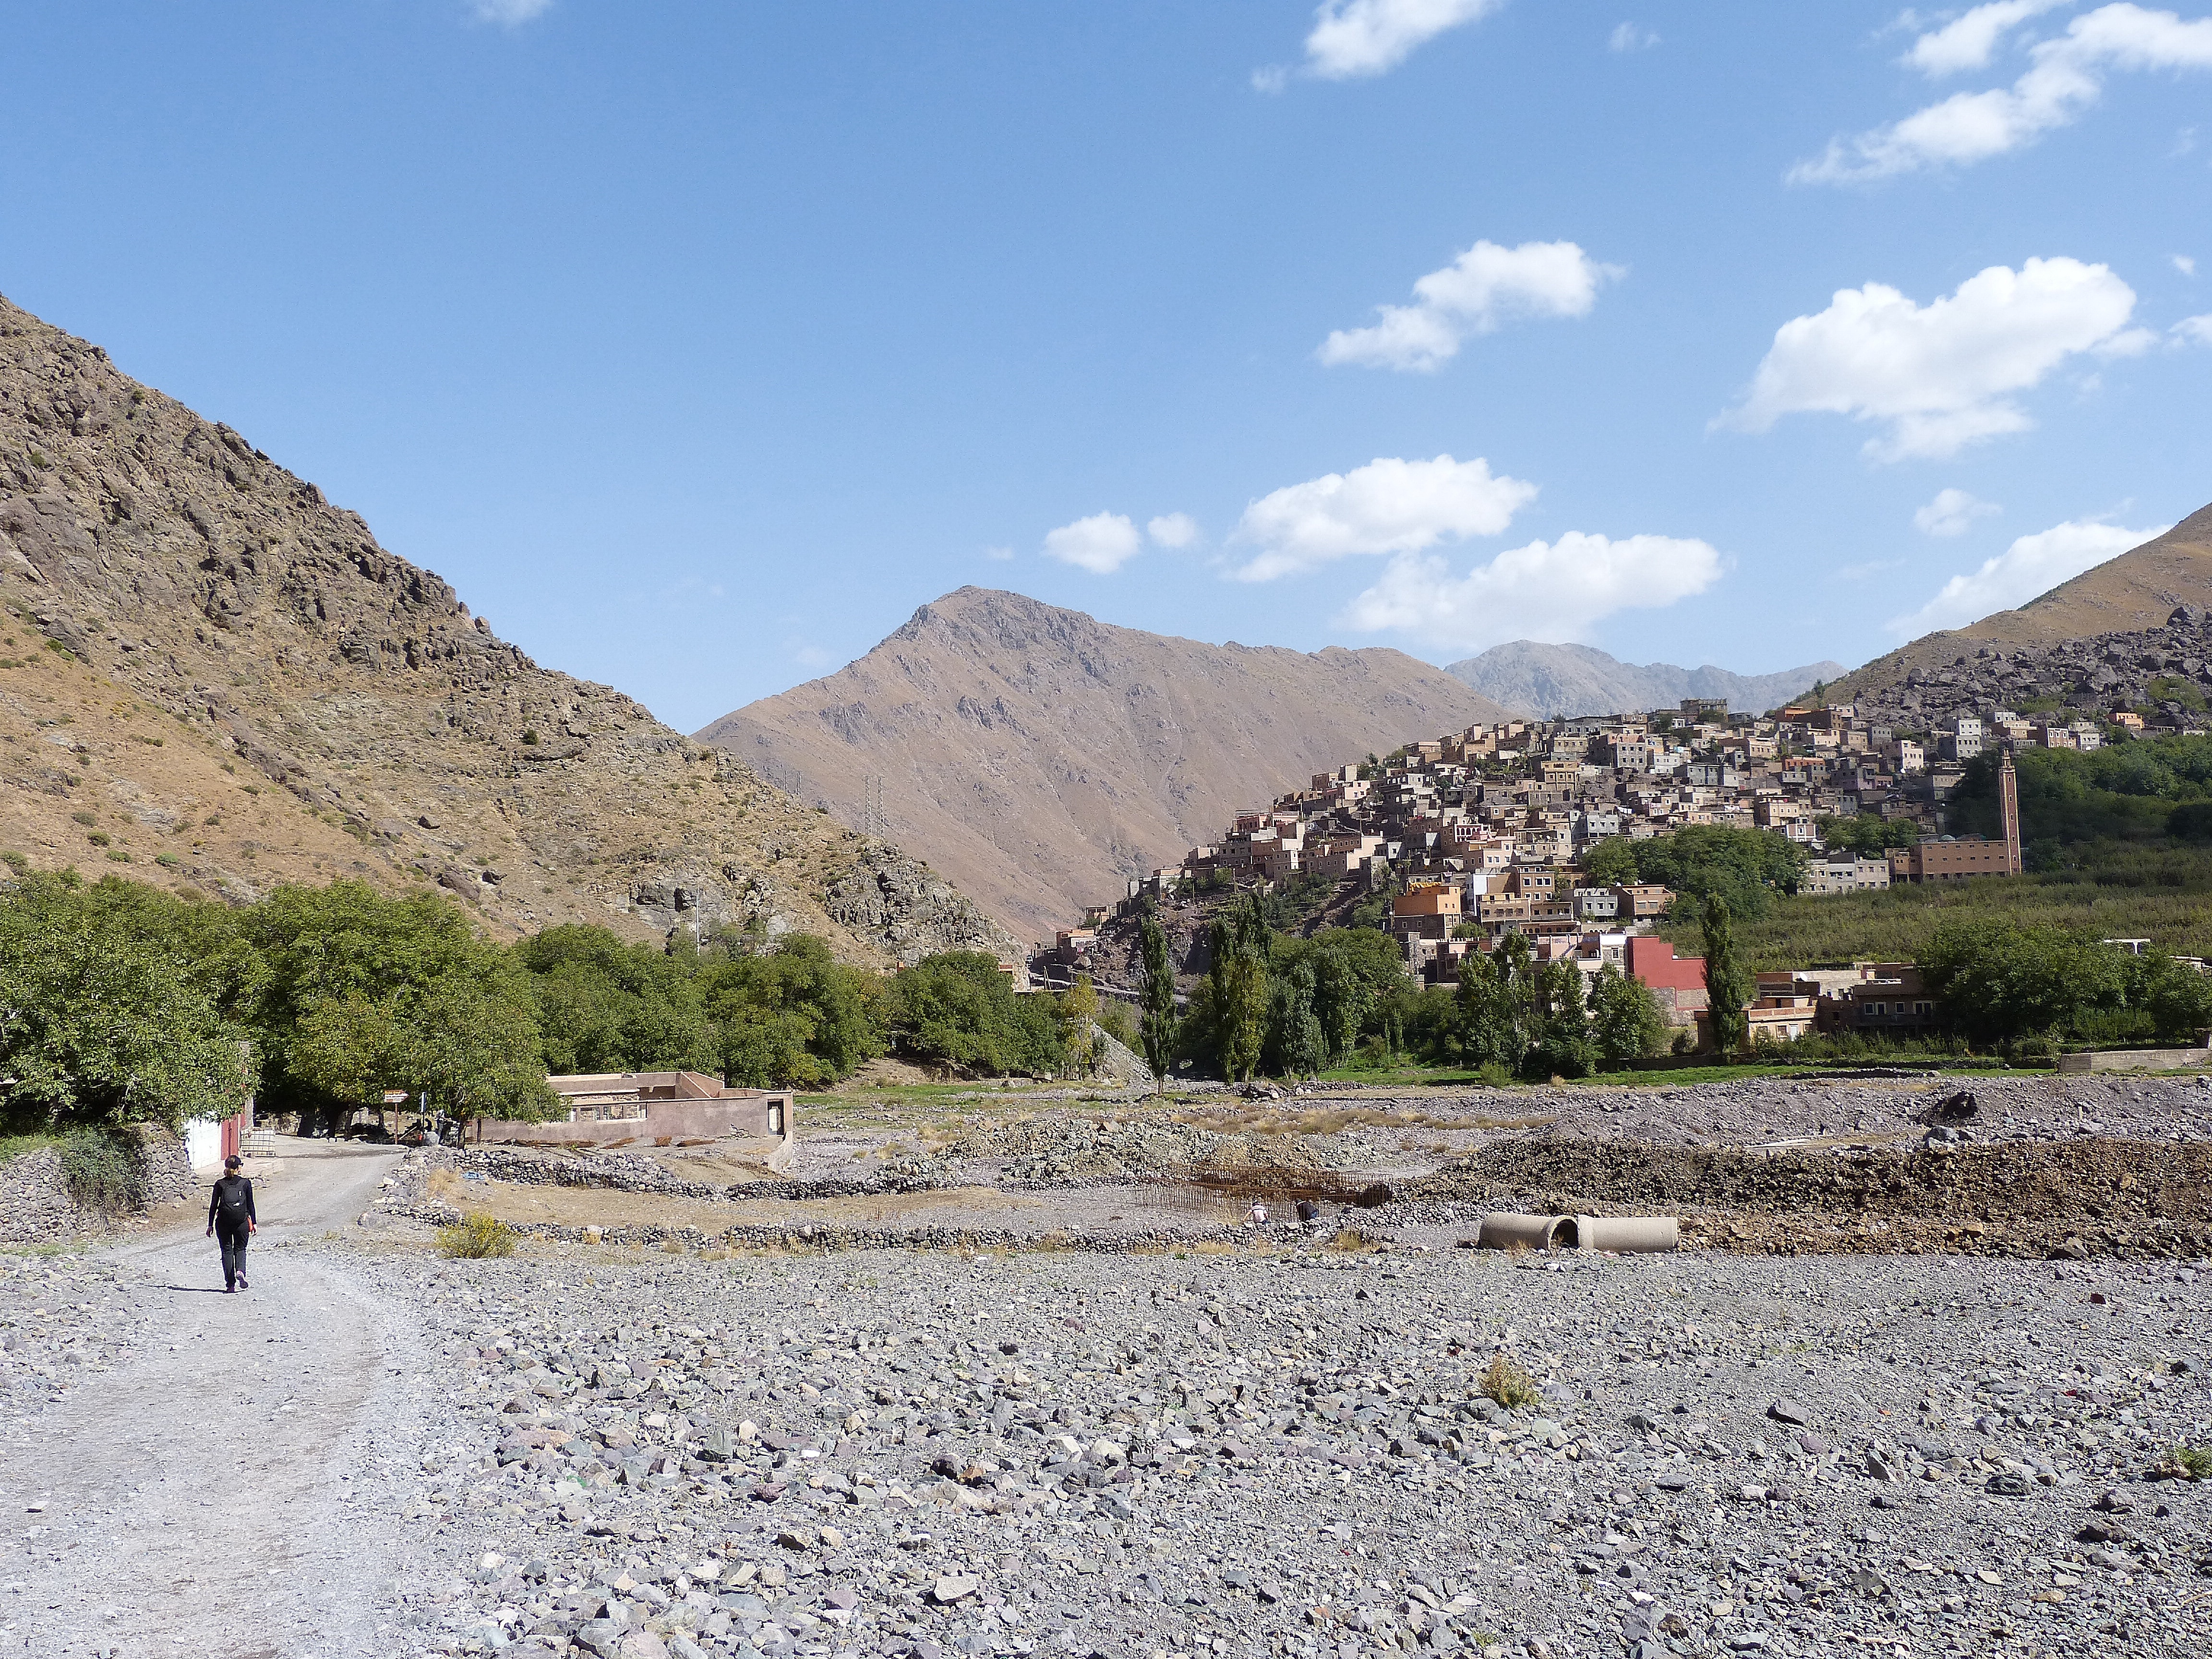
We arrived to Imlil at noon and spend the rest of the day there to start the hike the next morning. Imlil was a very welcomed change after having spent a few days in busy Marrakech.
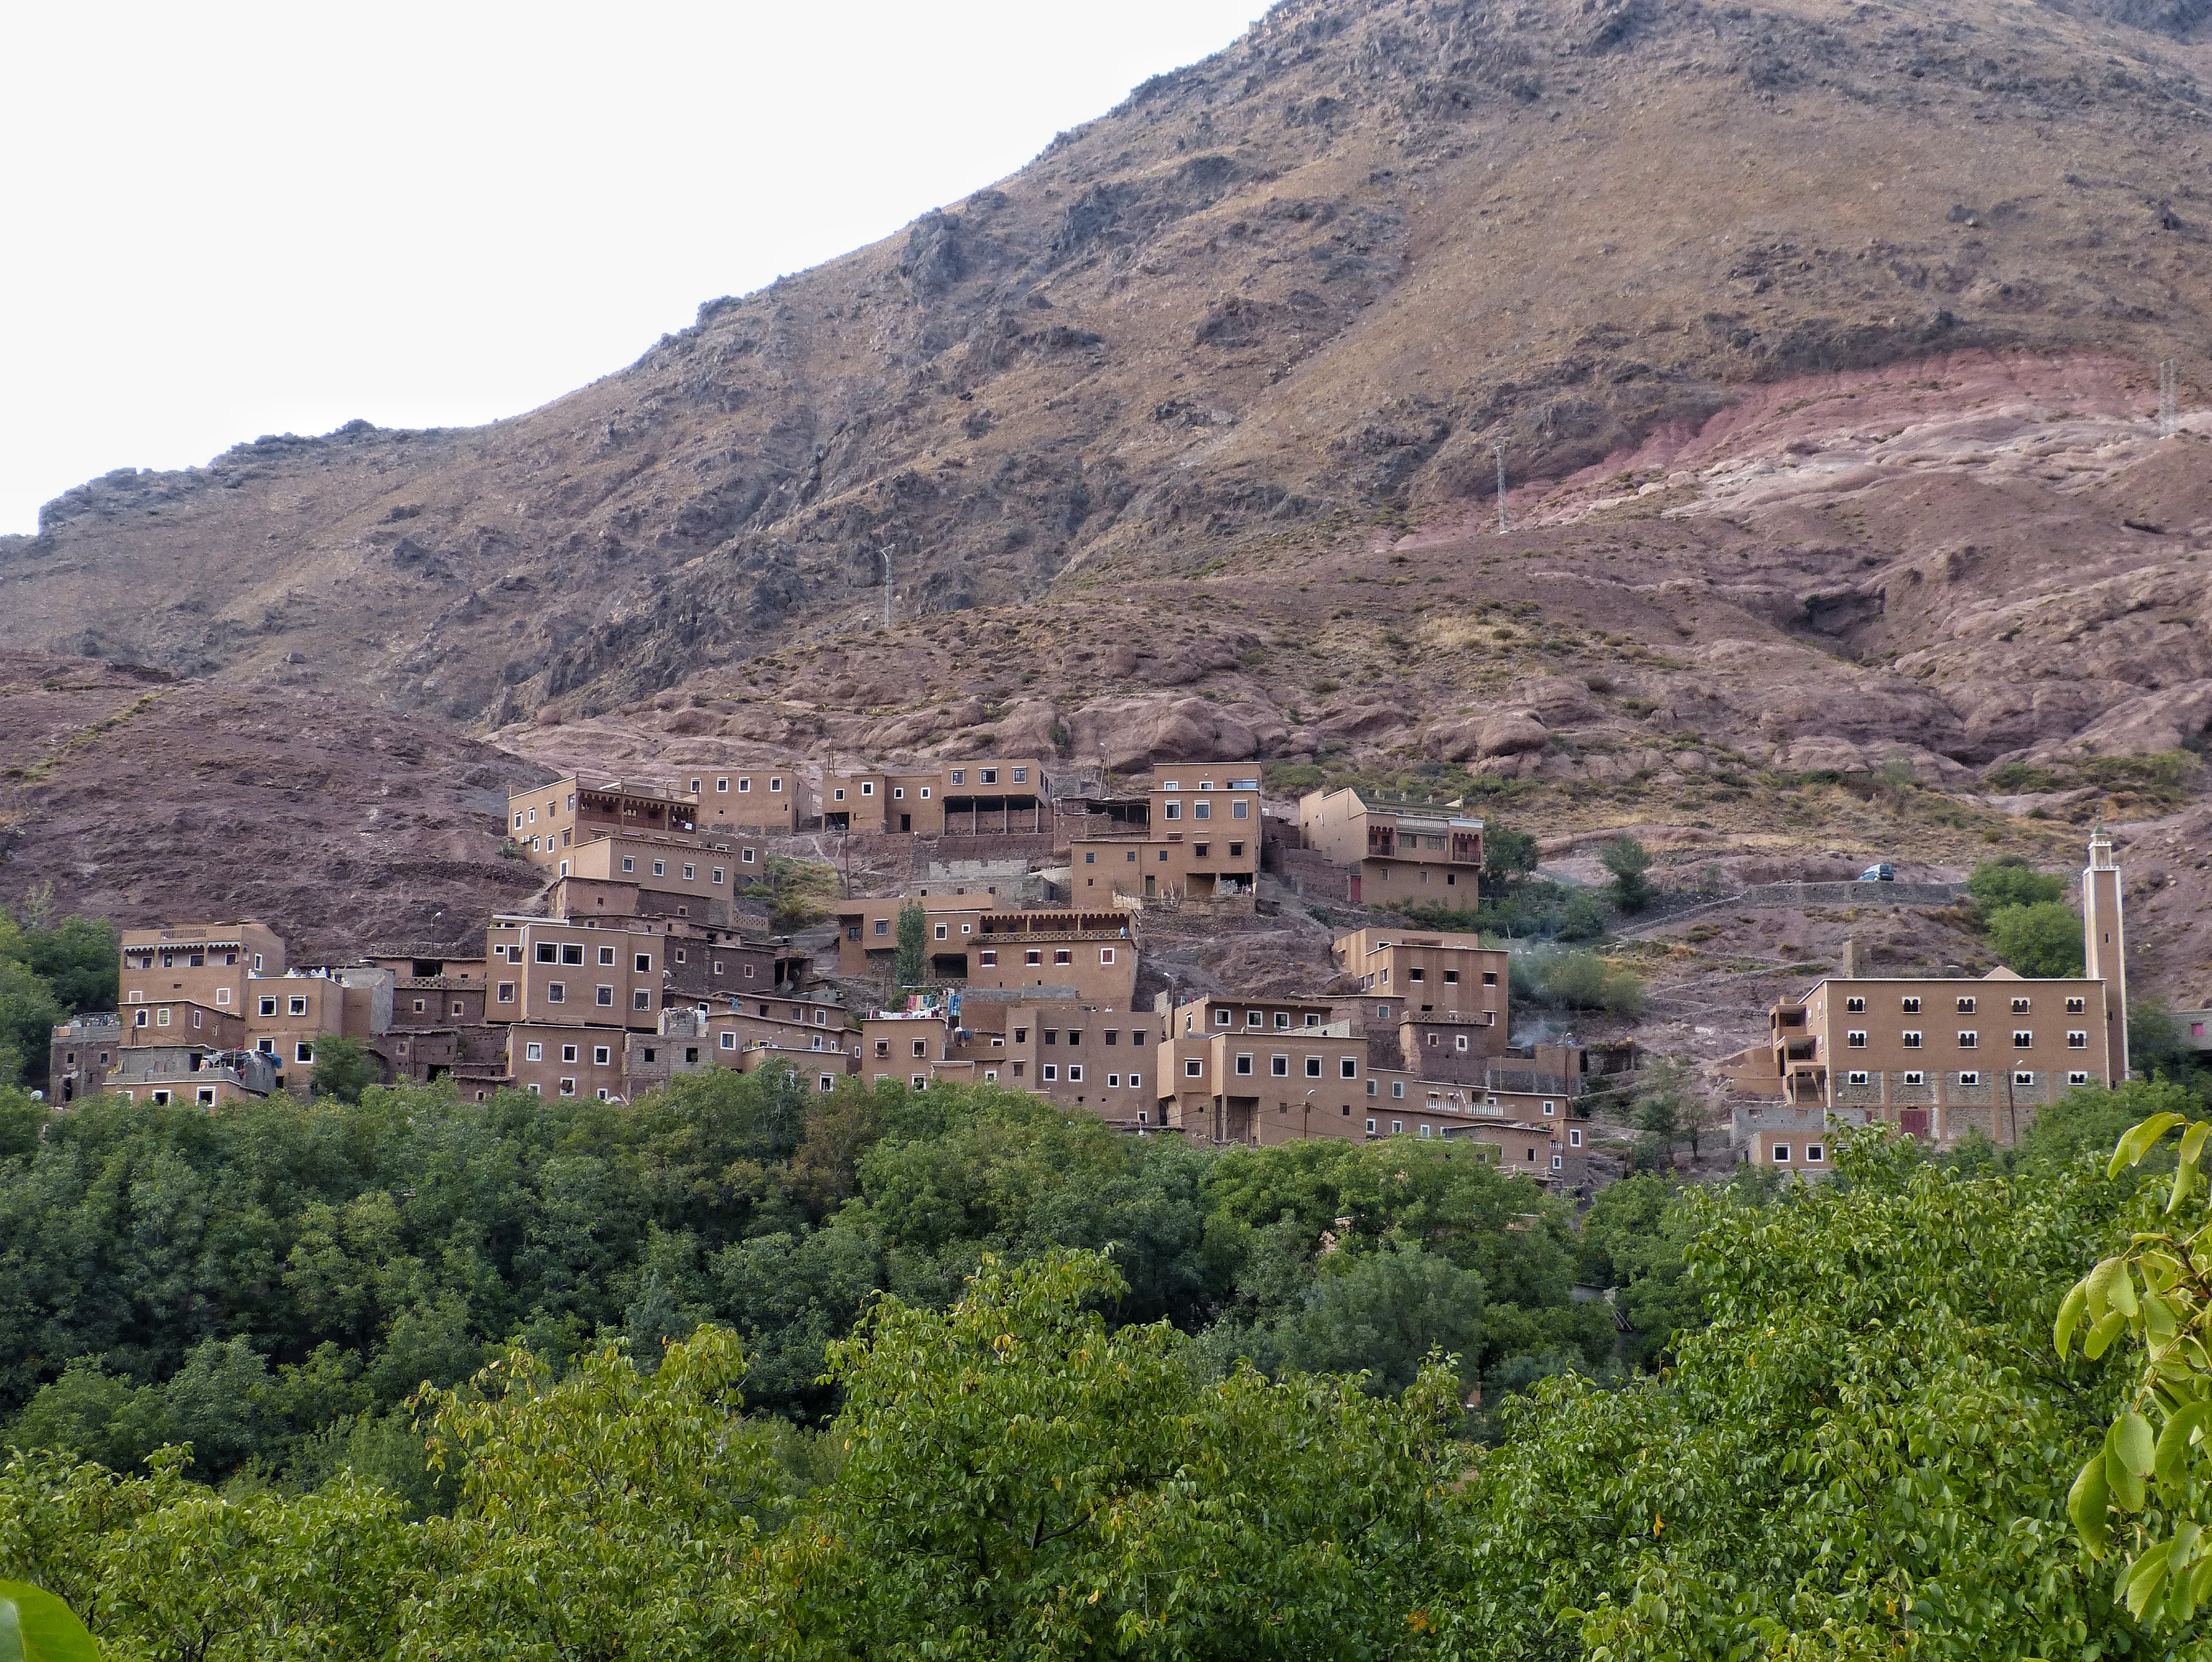
The town of Imlil
We gave a lot of consideration on whether to do the route in 2 or 3 days and we finally decided over 3 days, a decision we don’t regret. We are physically fit and spend most of good-weather-weekends at the mountains, but we had never done a hike that lasted more than a day or climbed a mountain as high as Toubkal.
Having also thought a lot about if we had to hire a guide and / or a porter, we decided on having a light backpack and do it by our own.
1.2. What do you need to know
In this post I explain just the route to trek Toubkal, to help you paint a picture of what you will encounter once you start. You’ll find the track divided by stages and days as well as information on the altitude sickness you can expect and the overall difficulty of this mountain.
If you want to organise a hike to Toubkal you’ll need some more information that you’ll find in my other post ‘Toubkal trekking experience’. Check it!
2. The trekking
2.1. The route by stages
This is not an official division of the route but you’ll find it very useful, especially if you are a bit concerned about the difficulty of climbing Toubkal. I’ve divided it in six main stages, depending basically on the inclination of the hike and the effort you have to put into it. The last stage corresponds to the ascension from the refuge to Toubkal, and is also divided in 2 stages.
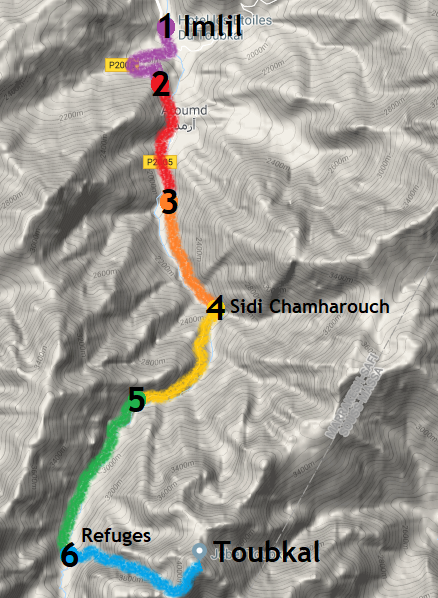
You can click here to amplify the image.
As a summary, the route until you reach the refuges ascends following the river. It is extremely easy to follow and it’s IMPOSSIBLE for you to get lost. The fact that a great part of it is shared with the pilgrims to Sidi Chamharouch –pilgrimage tomb of the King of Jinns, historically believed to cure mental diseases if a sheep, goat or chicken is slaughtered there- is of great help, although any of this means you shouldn’t have a topographic map and a good offline map viewer.
The route from the refuges to the summit is a little trickier, especially at the beginning, but with the help of the red dots and graffiti that mark the path and your map viewer you shouldn’t have any major problem.
In my post ‘Toubkal trekking experience’ I list everything you need to consider when downloading a map viewer App.
Stage 1
The beginning of the route is a very short part of the trail with some inclination at times but really easy to walk: it’s the part that gets you out of Imlil to join the ‘main road’ to Sidi Chamharouch.

Stage 2
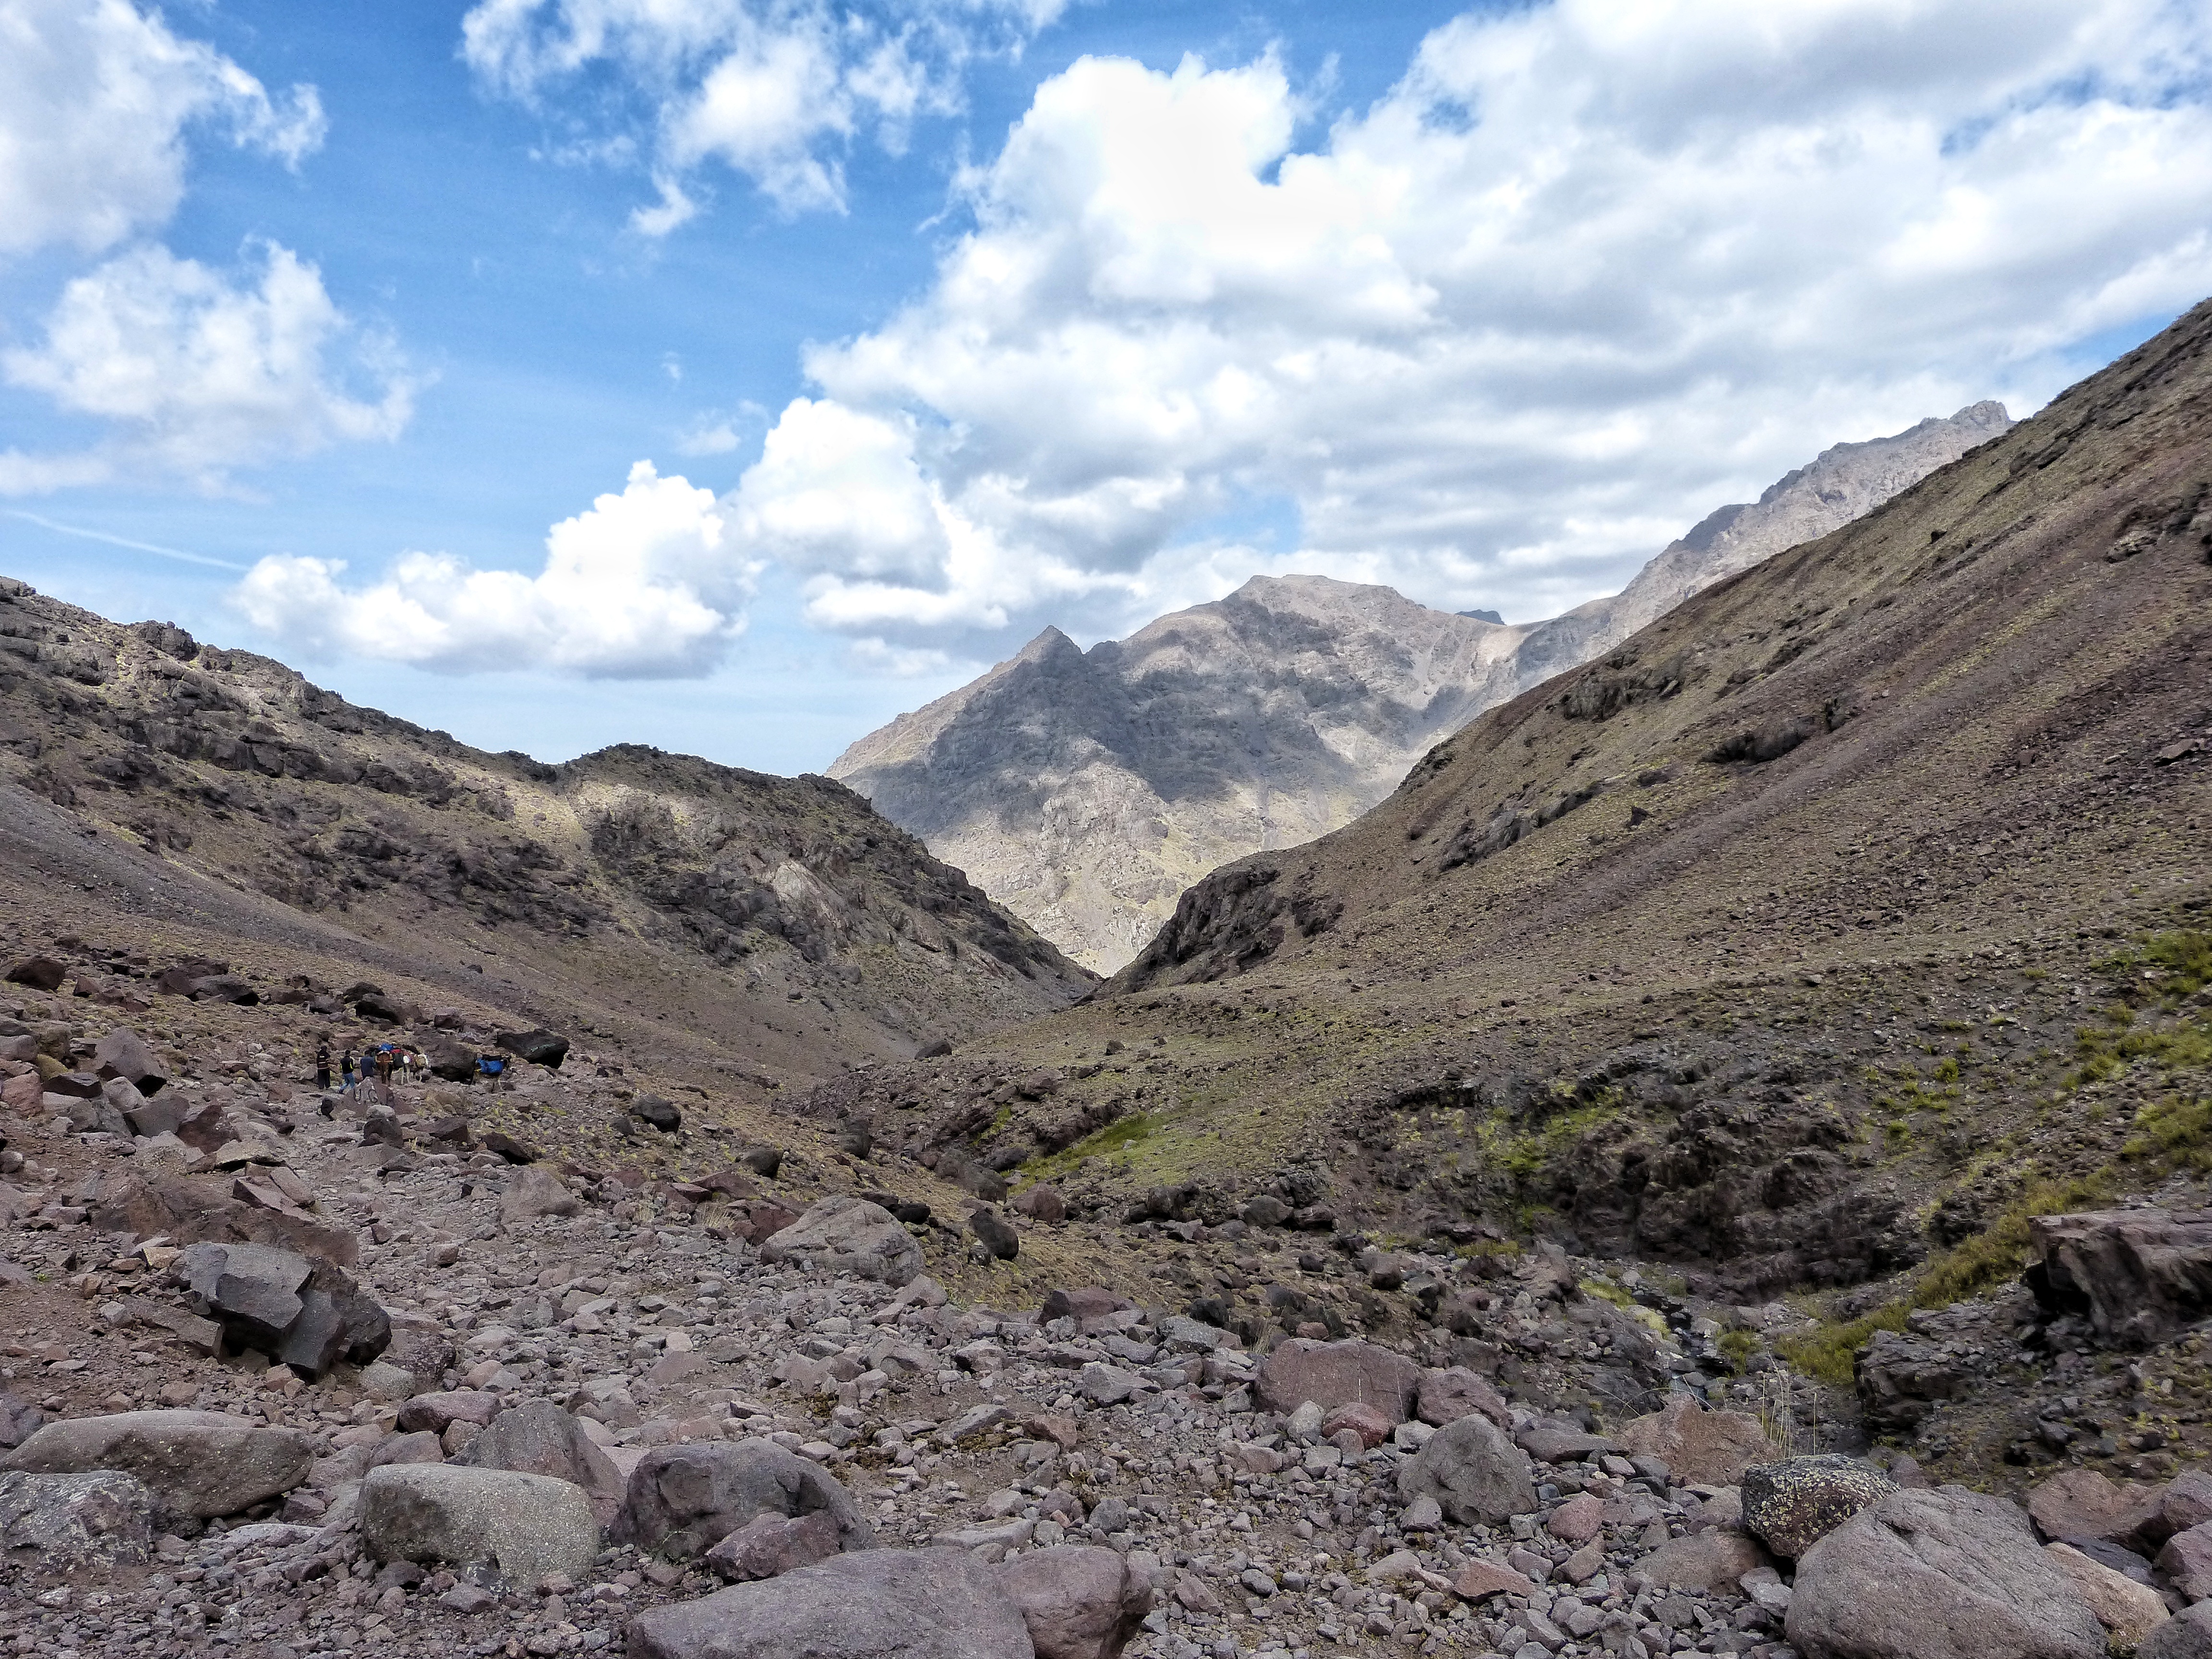
This stage is a bit longer than the previous one but extremely plain. The first part crosses a few groups of houses (I don’t dare to call them towns) and, the second part, an open circus that I suppose was once a huge river. In this part of the track you have joined the pilgrims to Sidi Chamharouch. Most of them go with porters so expect to start seeing mules there.
Stage 3
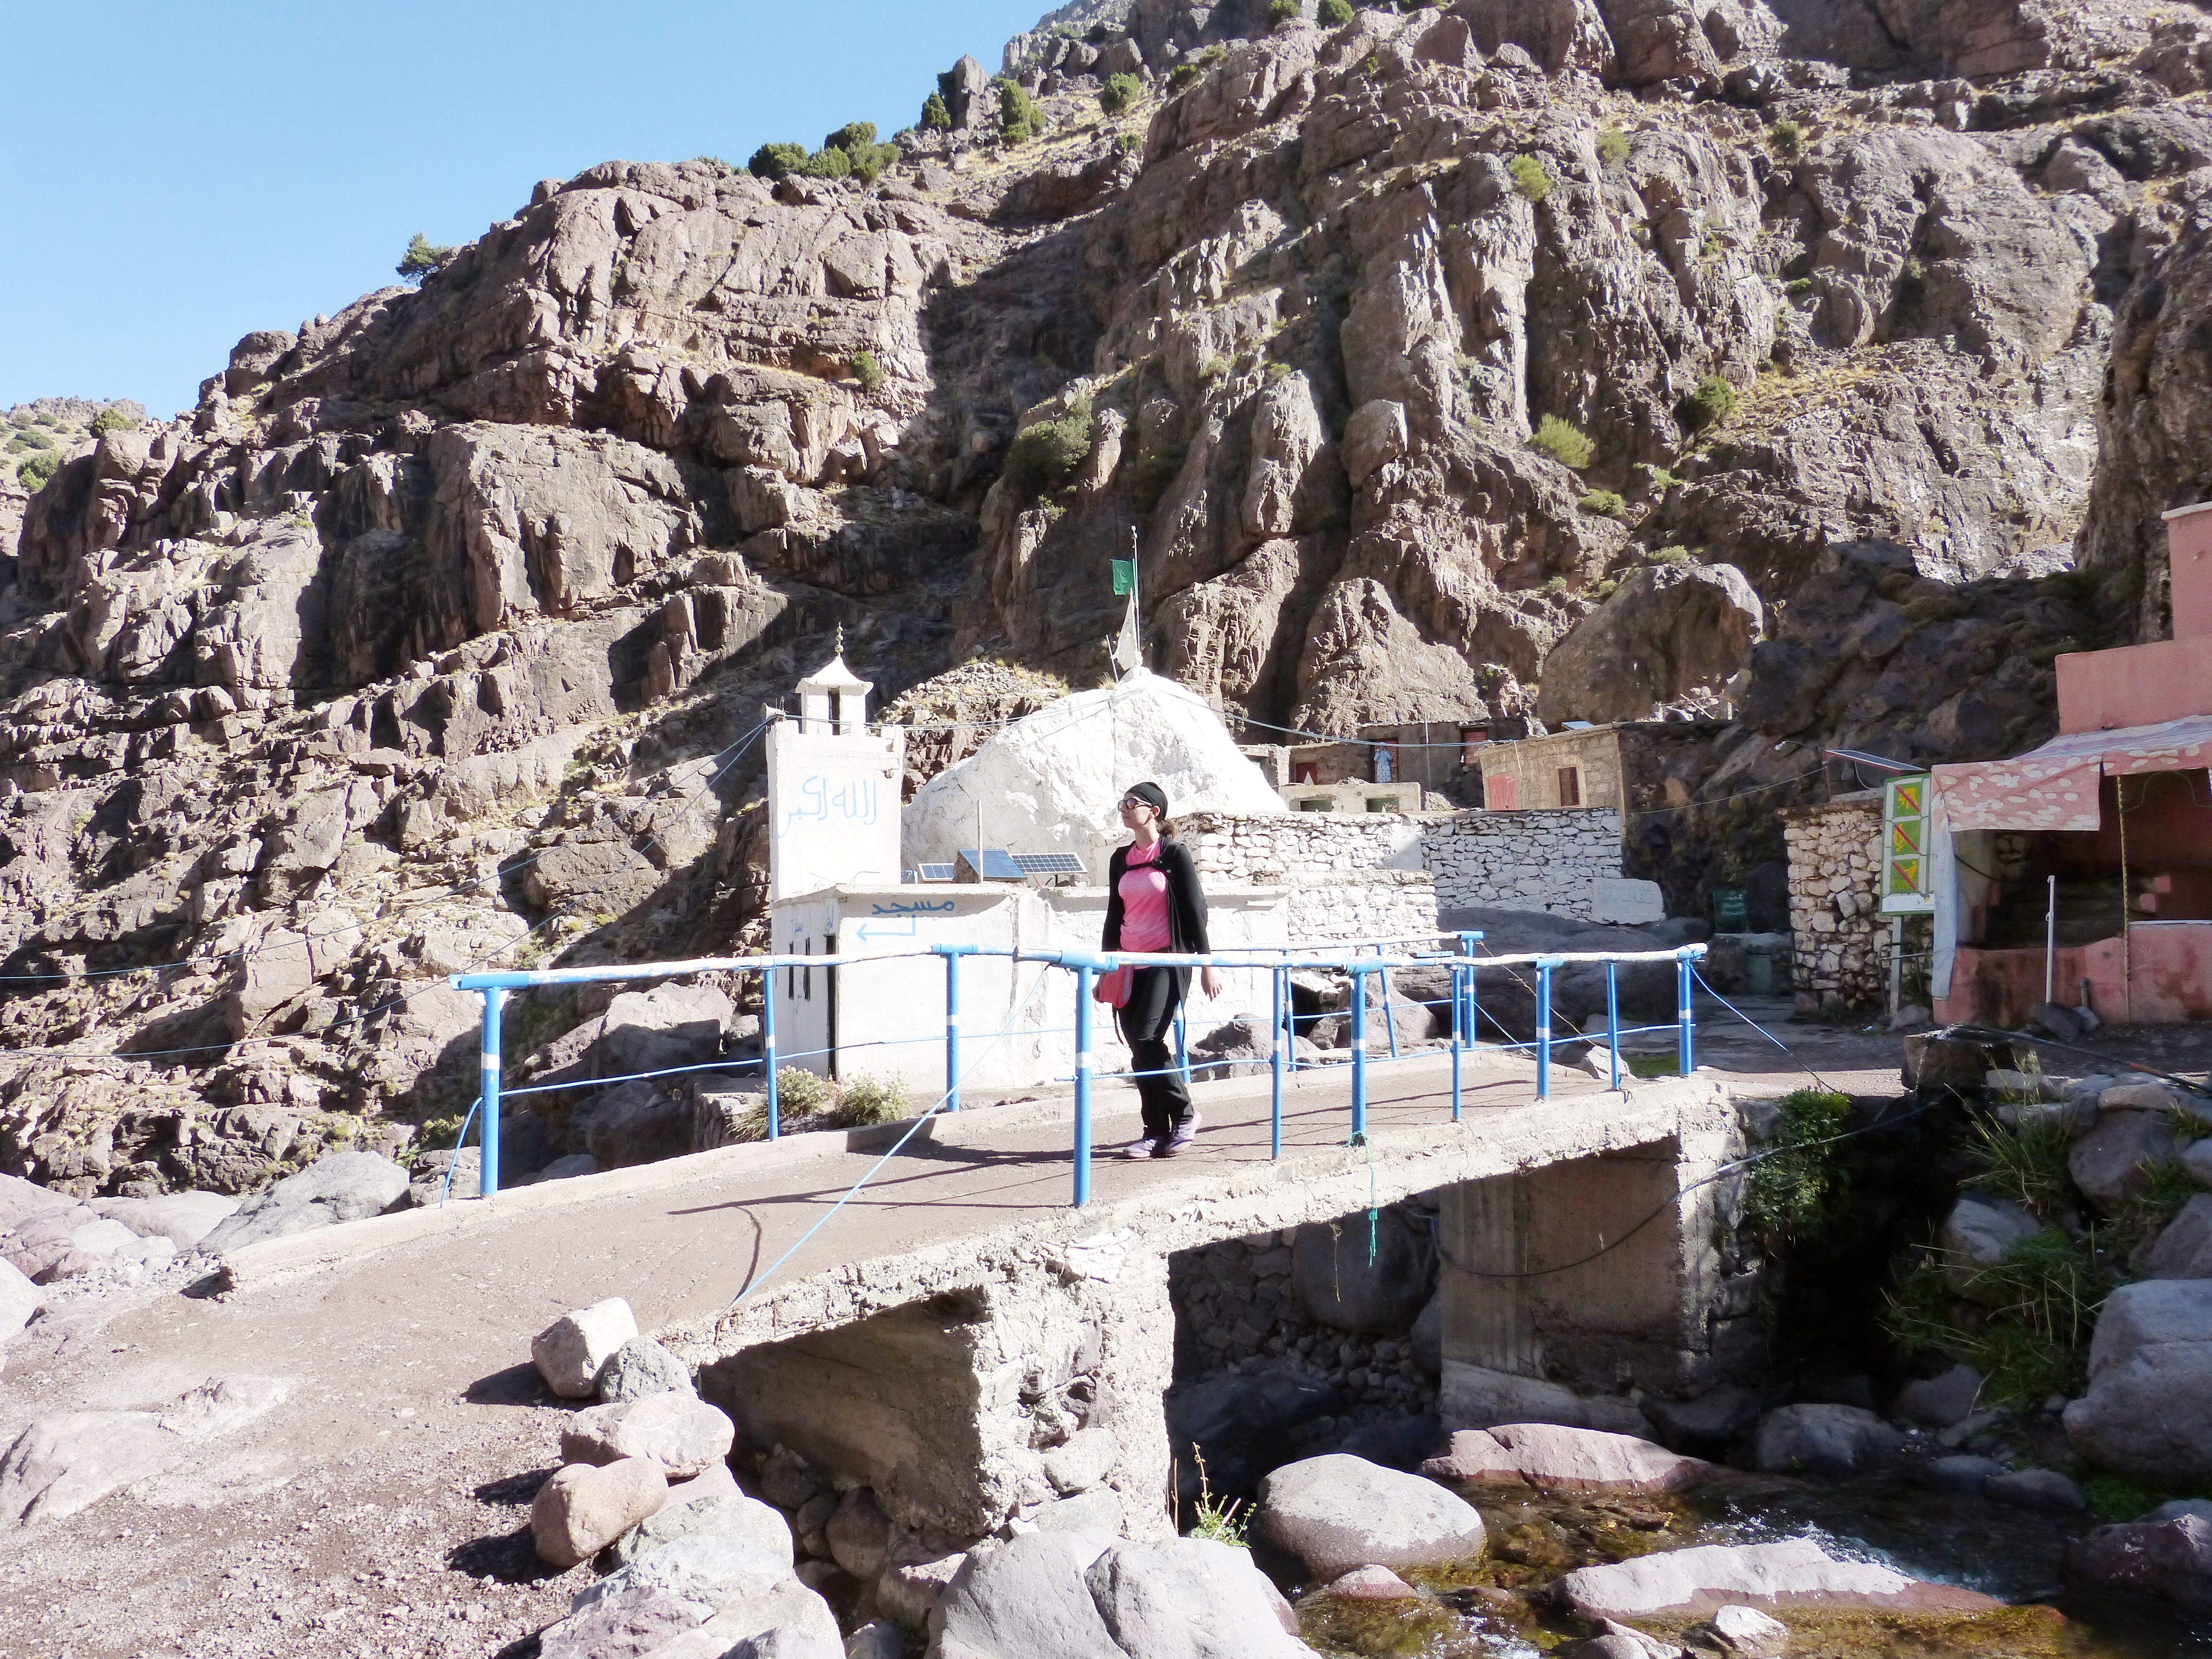
The fun starts here. The track is considerably lean, with some hard zigzags that will help you gain altitude in almost no time. It will require some effort from your part. You will be sharing the path with porters and mules, men transporting boxes full of apples at their backs, local children running with flip flops.

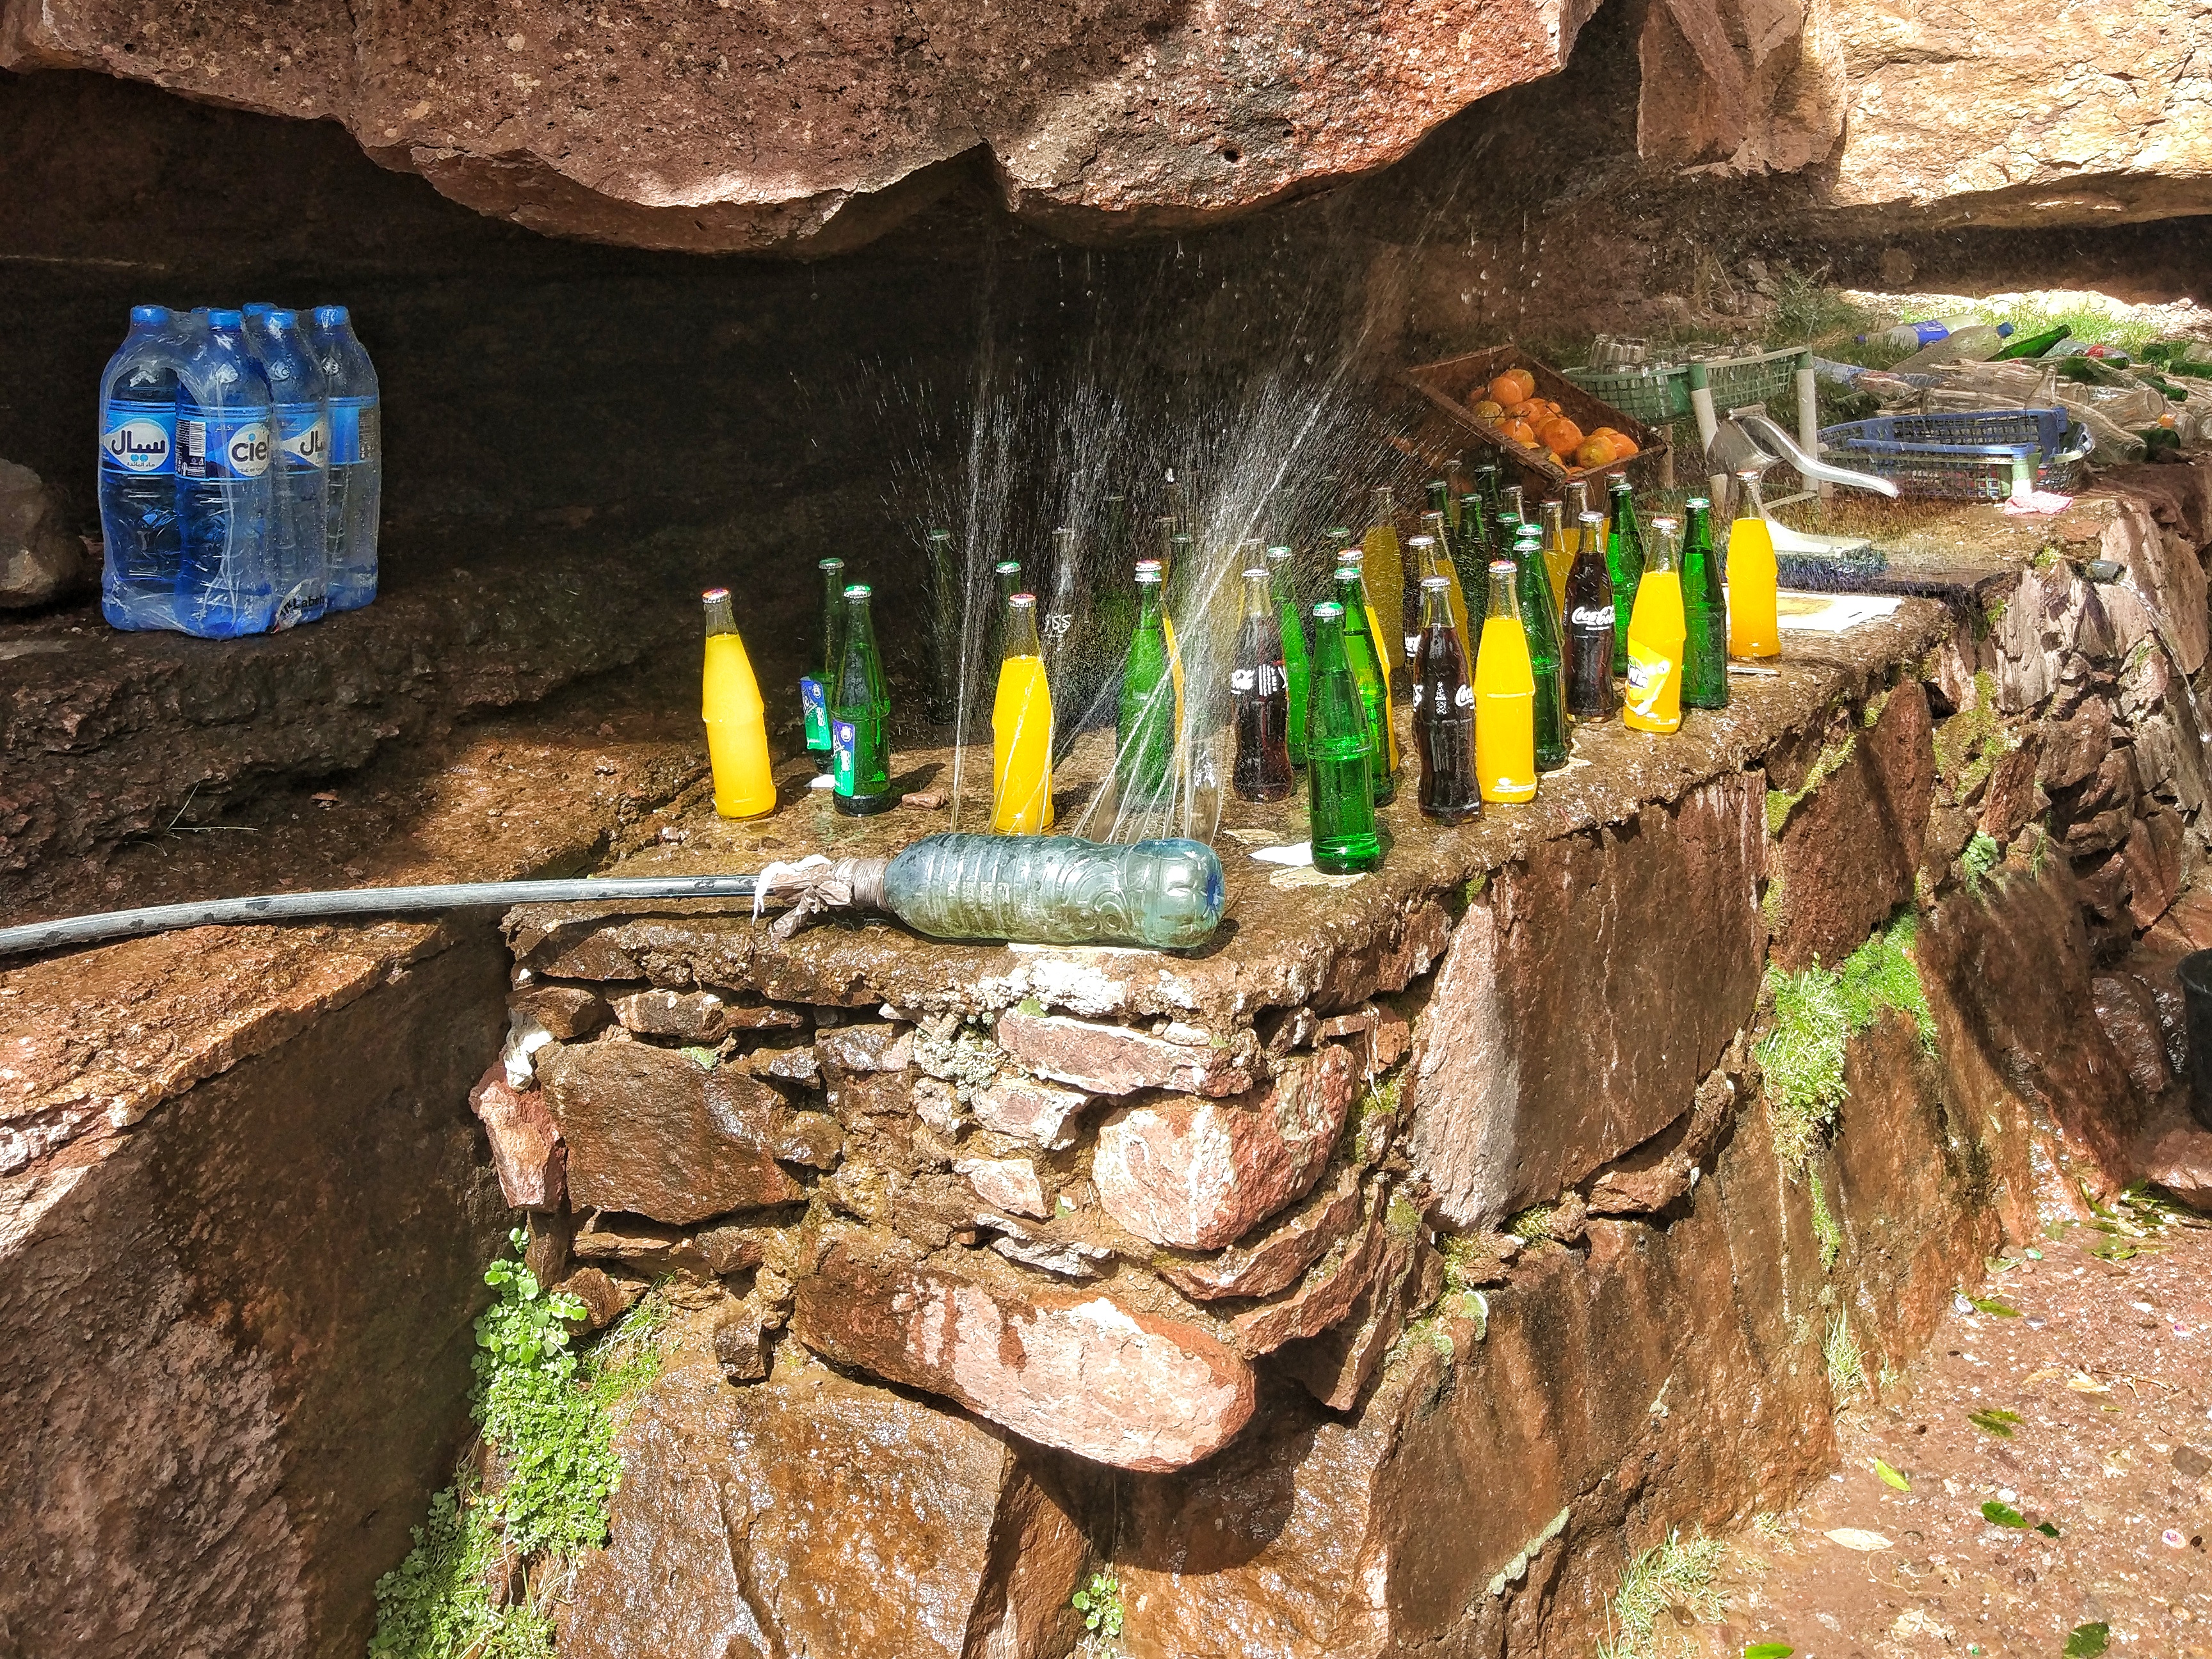
This is also the part of the trek where most ‘chiringuitos’ are found. Don’t expect anything fancy at all, but you will be able to buy apples, nuts, water, beverages…
Stage 3 ends in Sidi Chamharouch, where you can rest and have something to eat (there are a few simple restaurants there). You can also buy souvenirs there.
This part of the route is considerably easier on the way down, because there are a lot of shortcuts very straightforward to see when descending that will shorten the time it takes you to complete it. However, don’t bother looking for them on the way up, they would be too abrupt to climb comfortably.
Stage 4
And the fun continues! Some more zigzags for you to gain altitude fast. These ones are more pronounced that the part you have left behind, but it is shorter, and once you finish it the rest of the walk until the refuge is easy and plain.
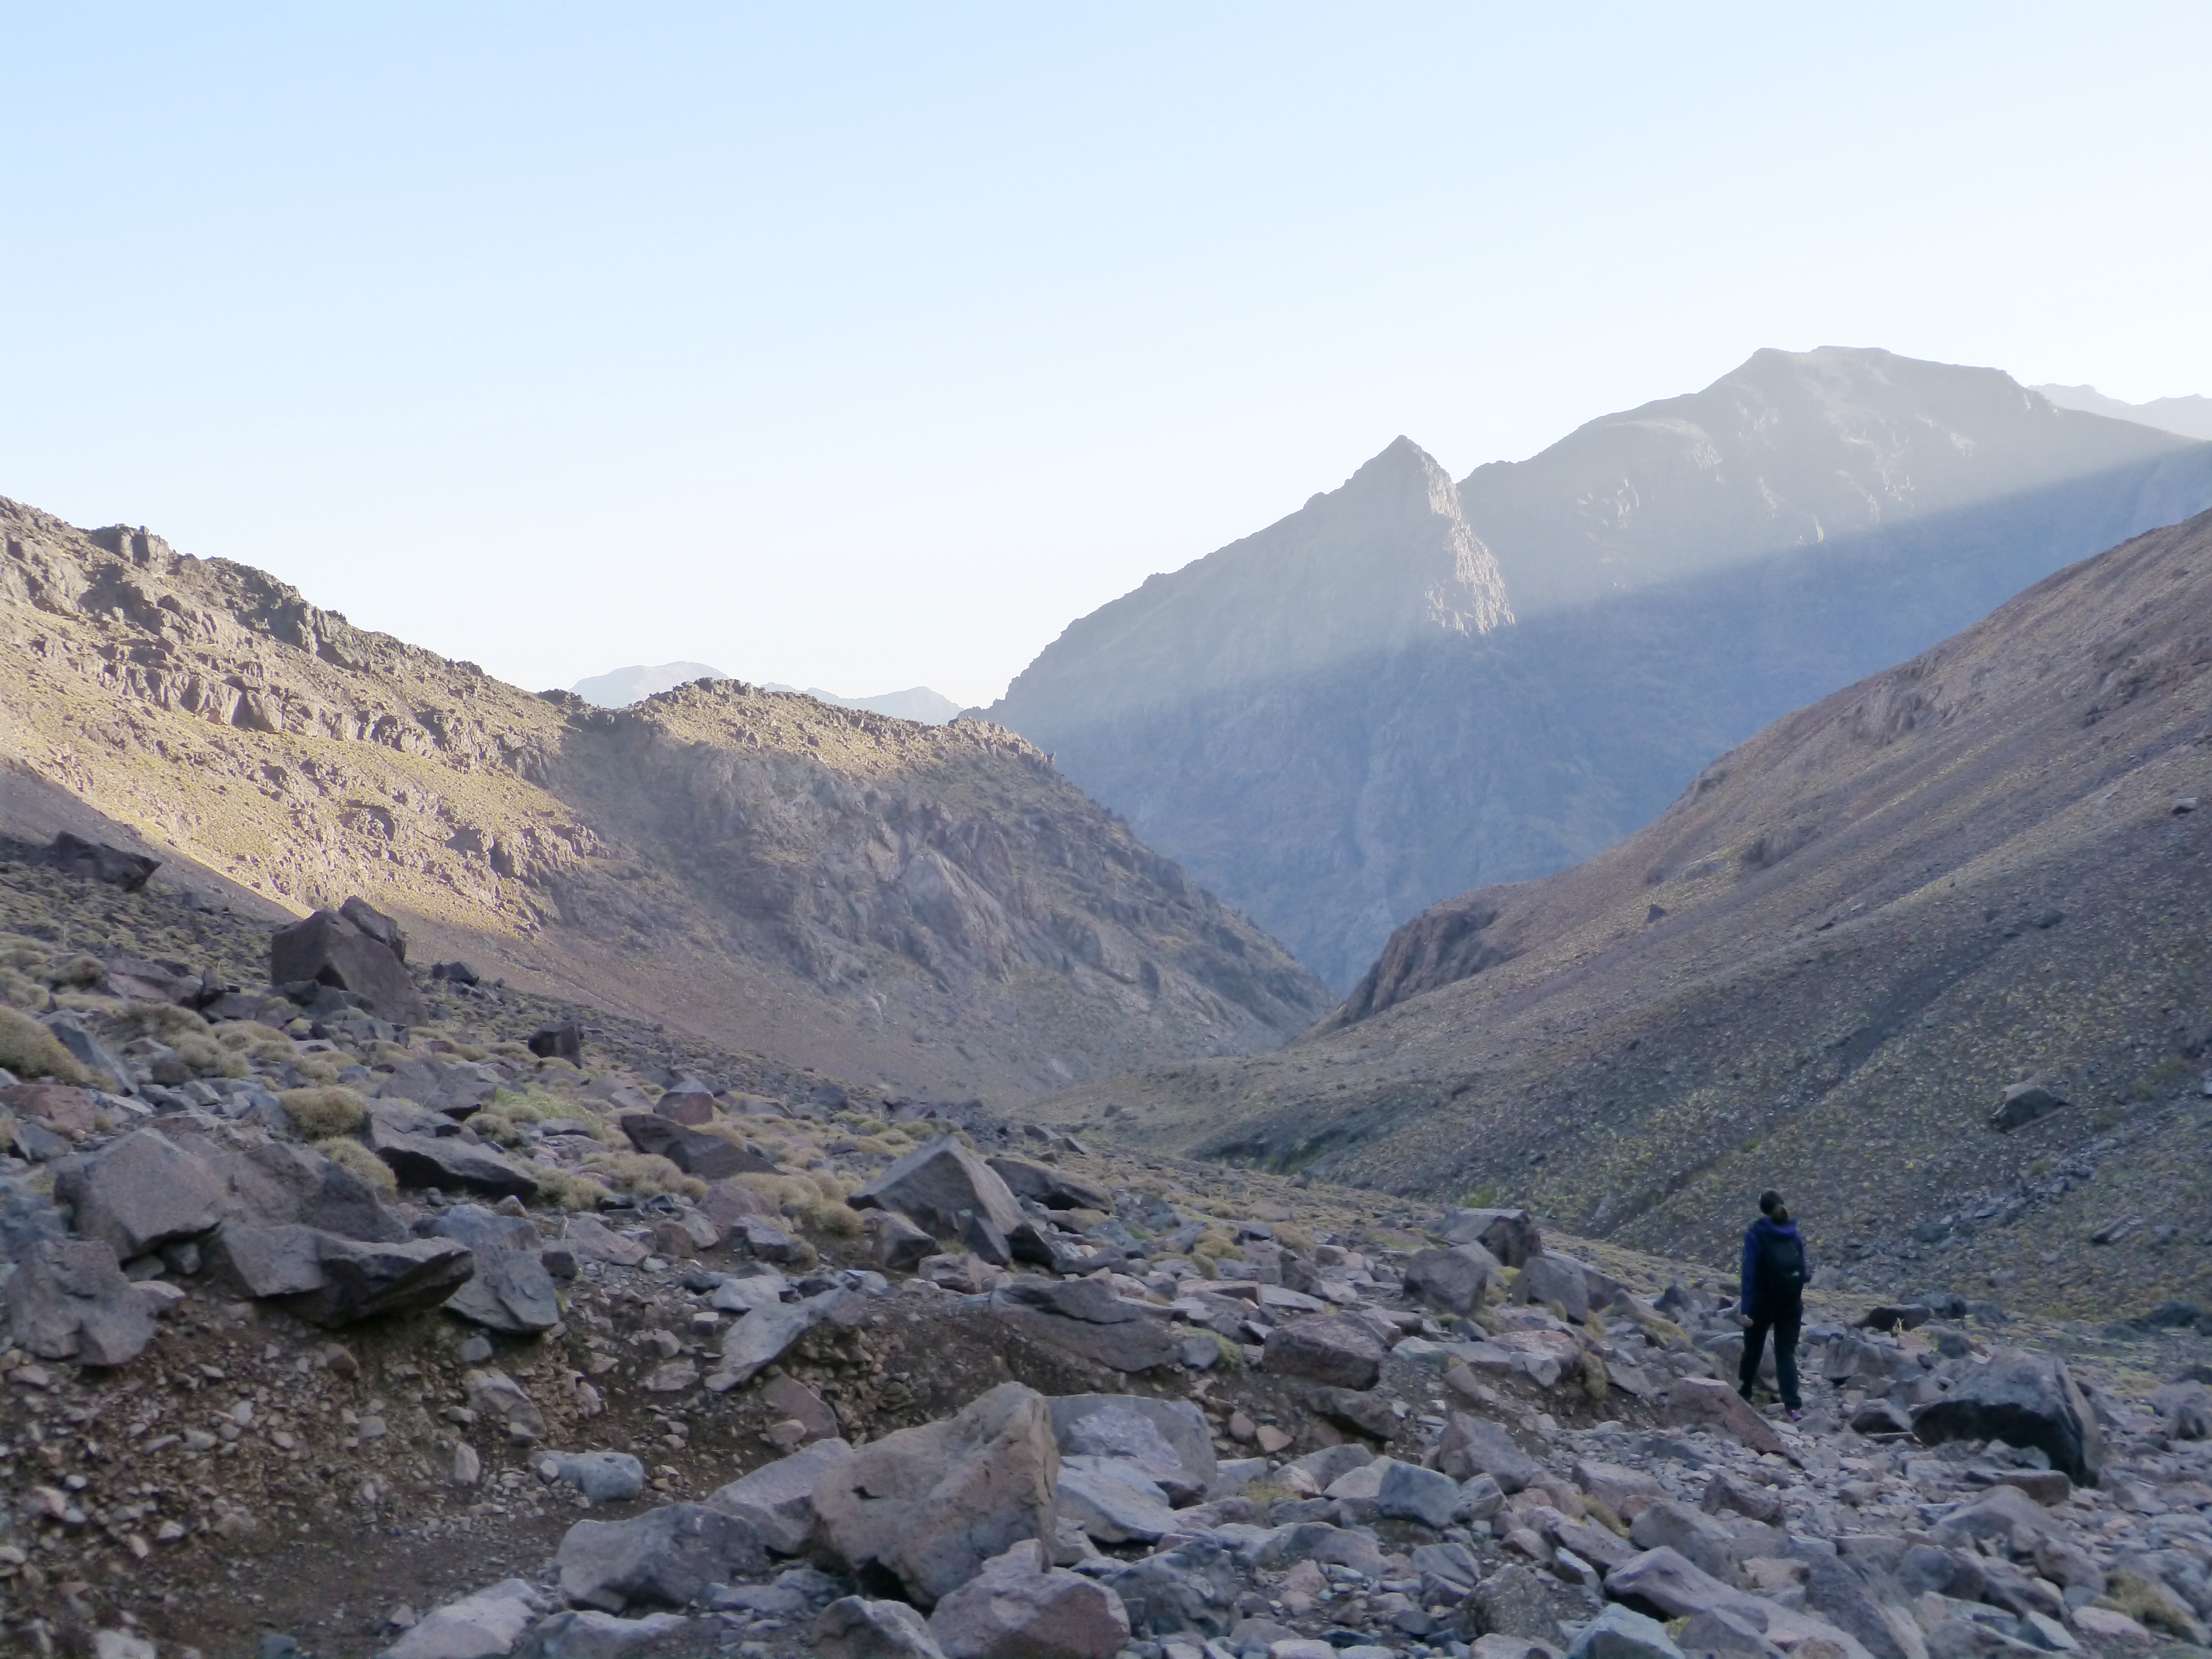
Stage 5
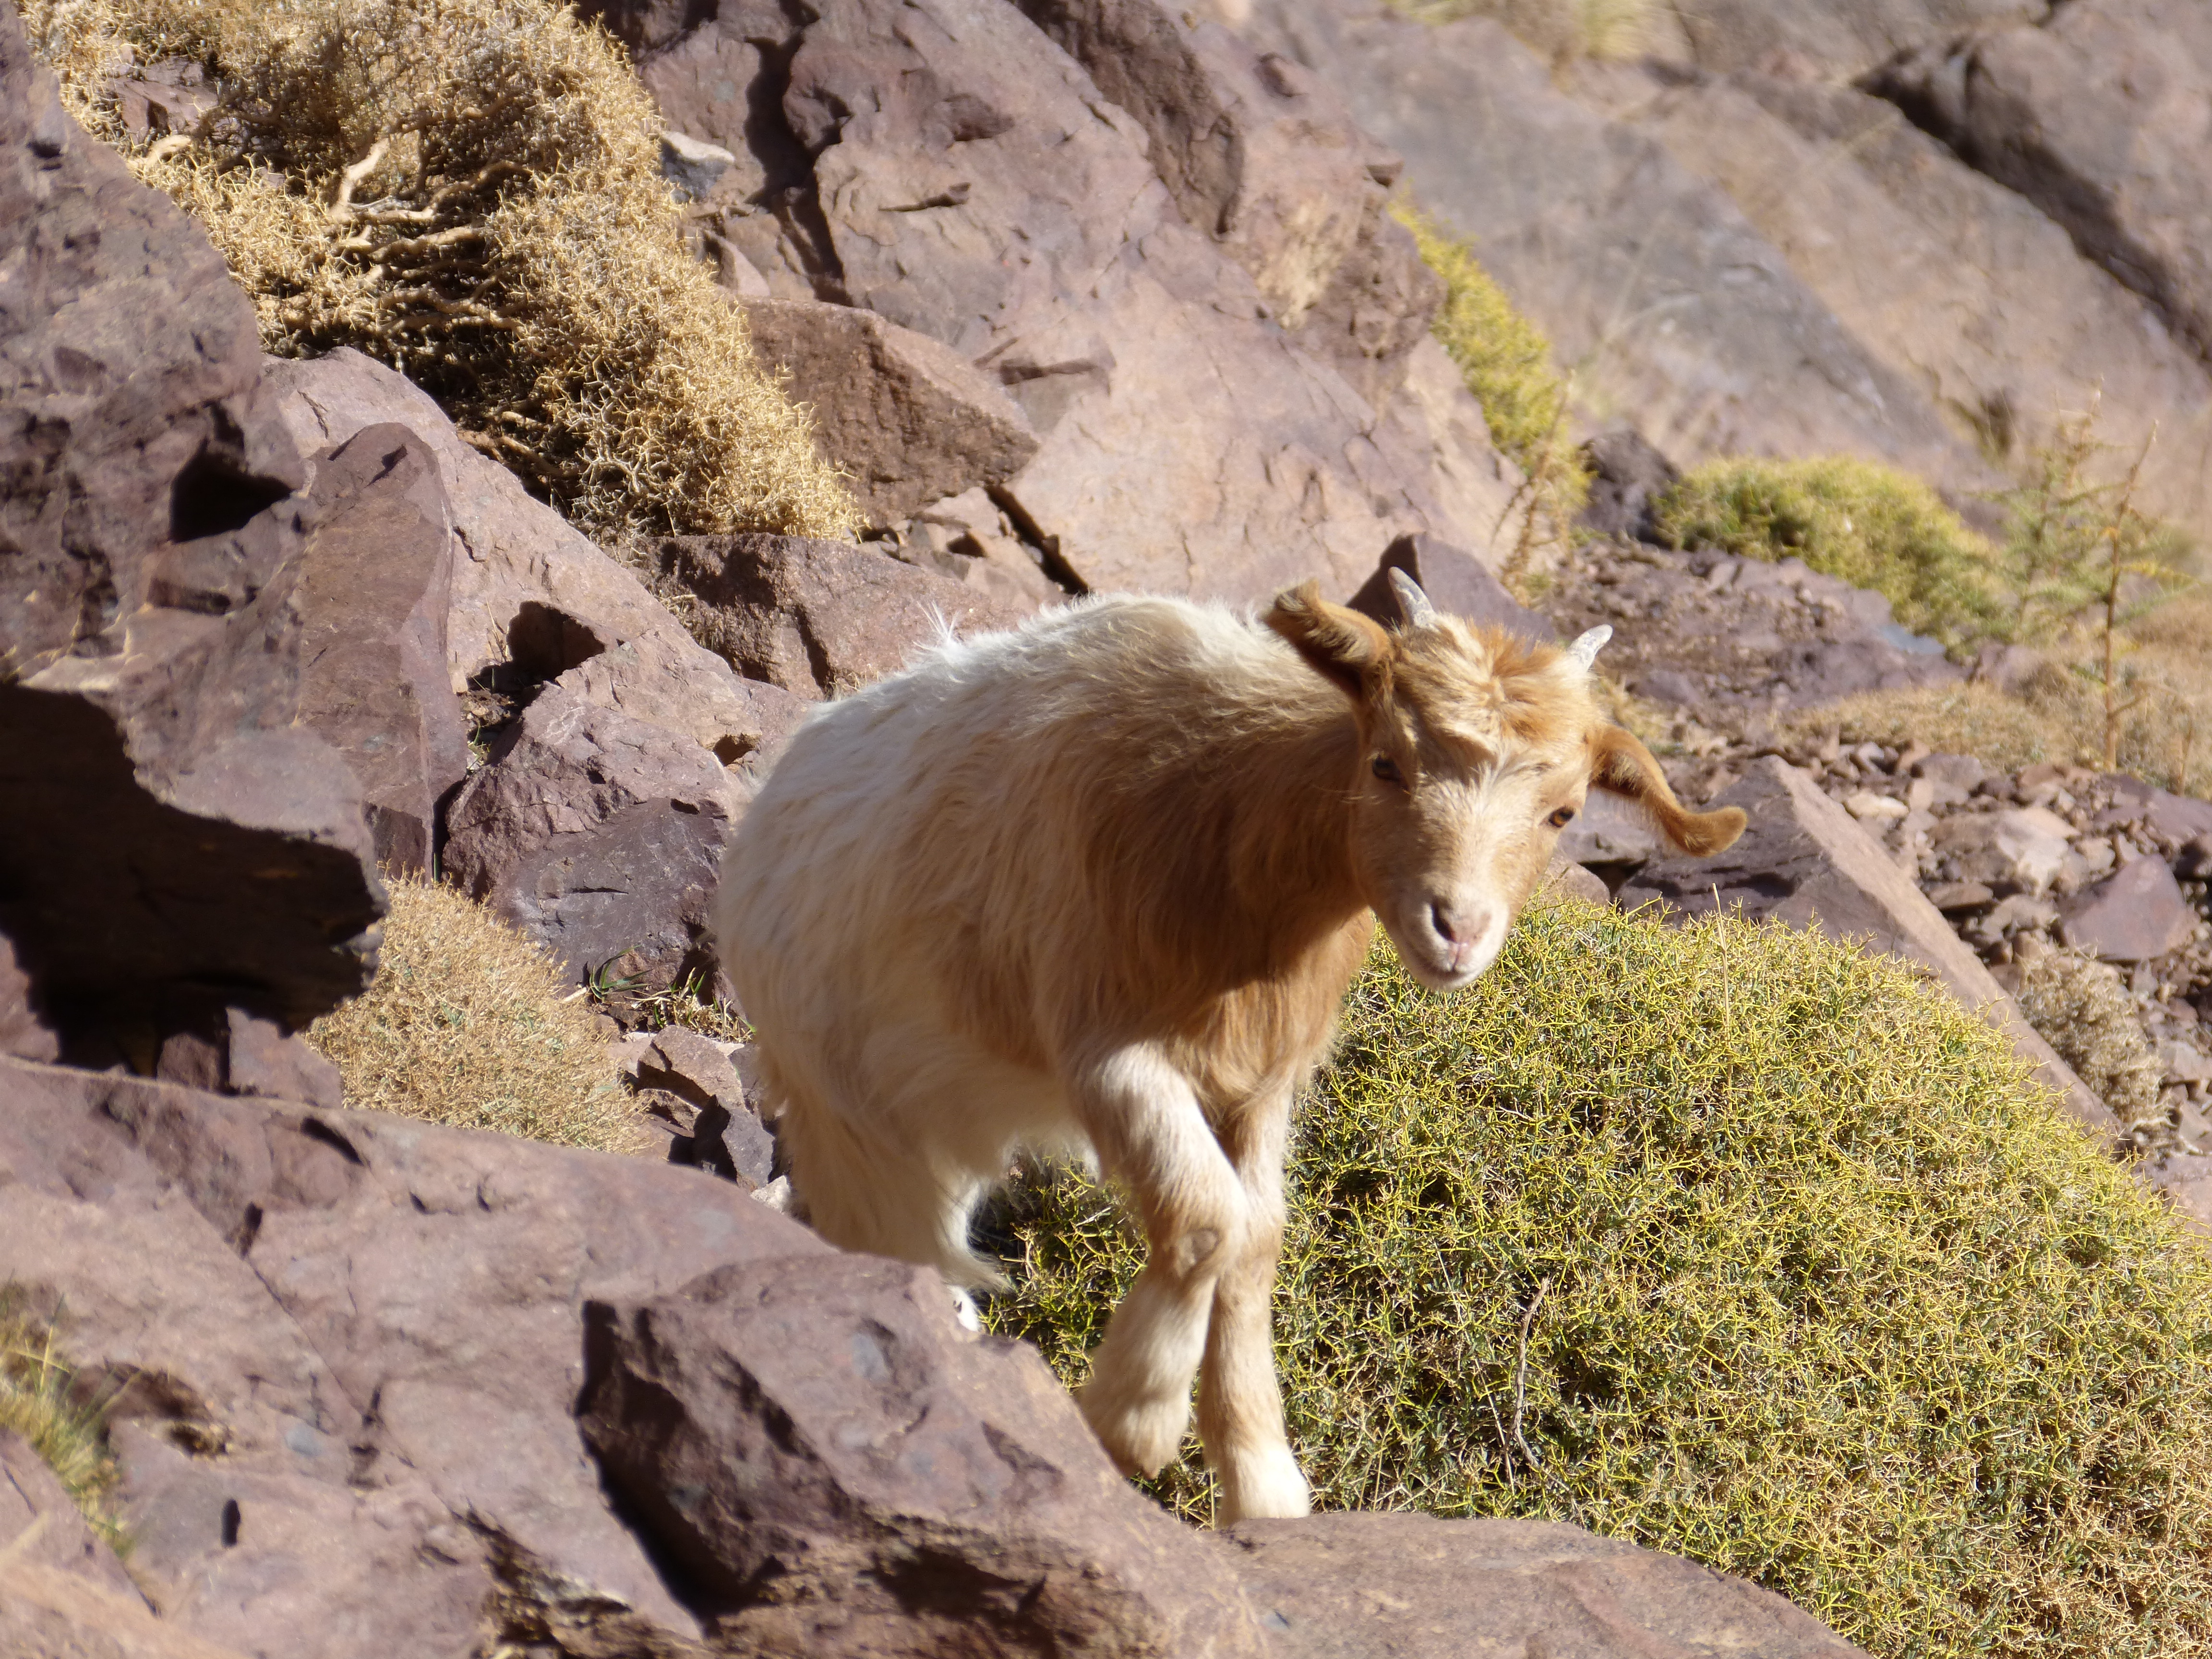
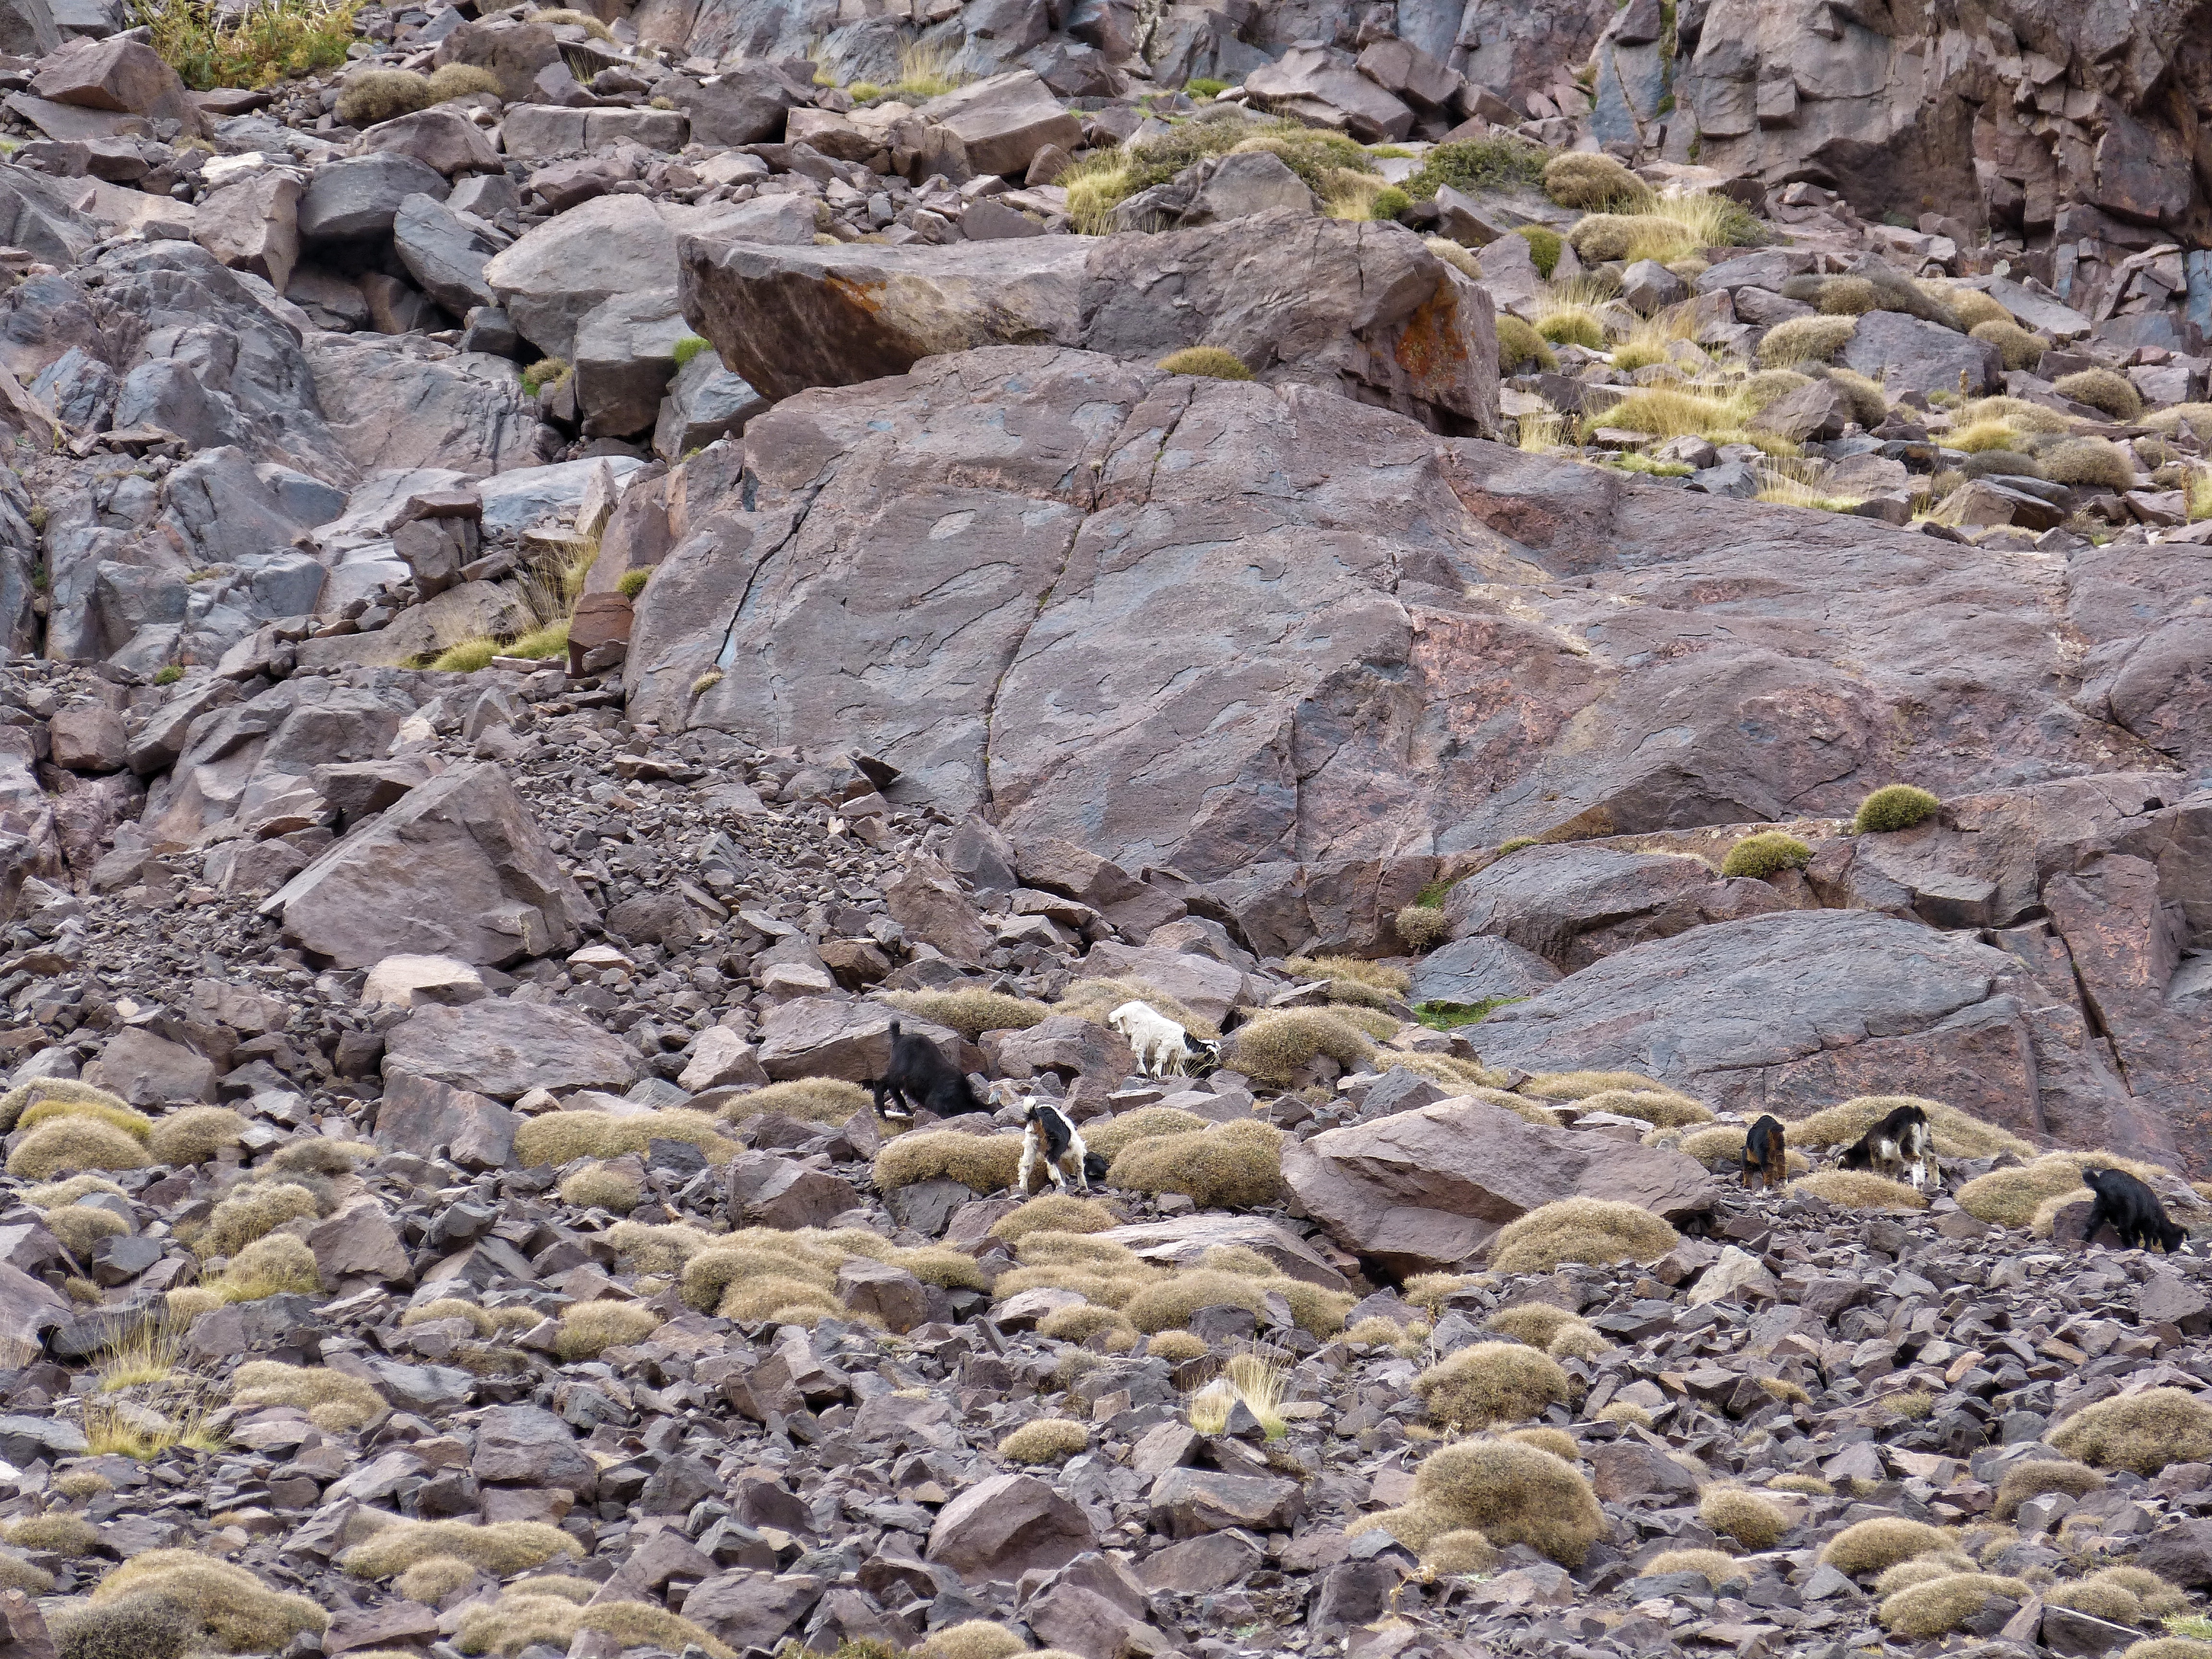
As I told you, this part of the trek is really easy with almost no inclination. The only problem you may have is that it is a bit long and you may be tired from the previous stages. Here you’ll find the last ‘chiringuito’ of the trek and if you pay attention you may listen and see some goats in the distance.
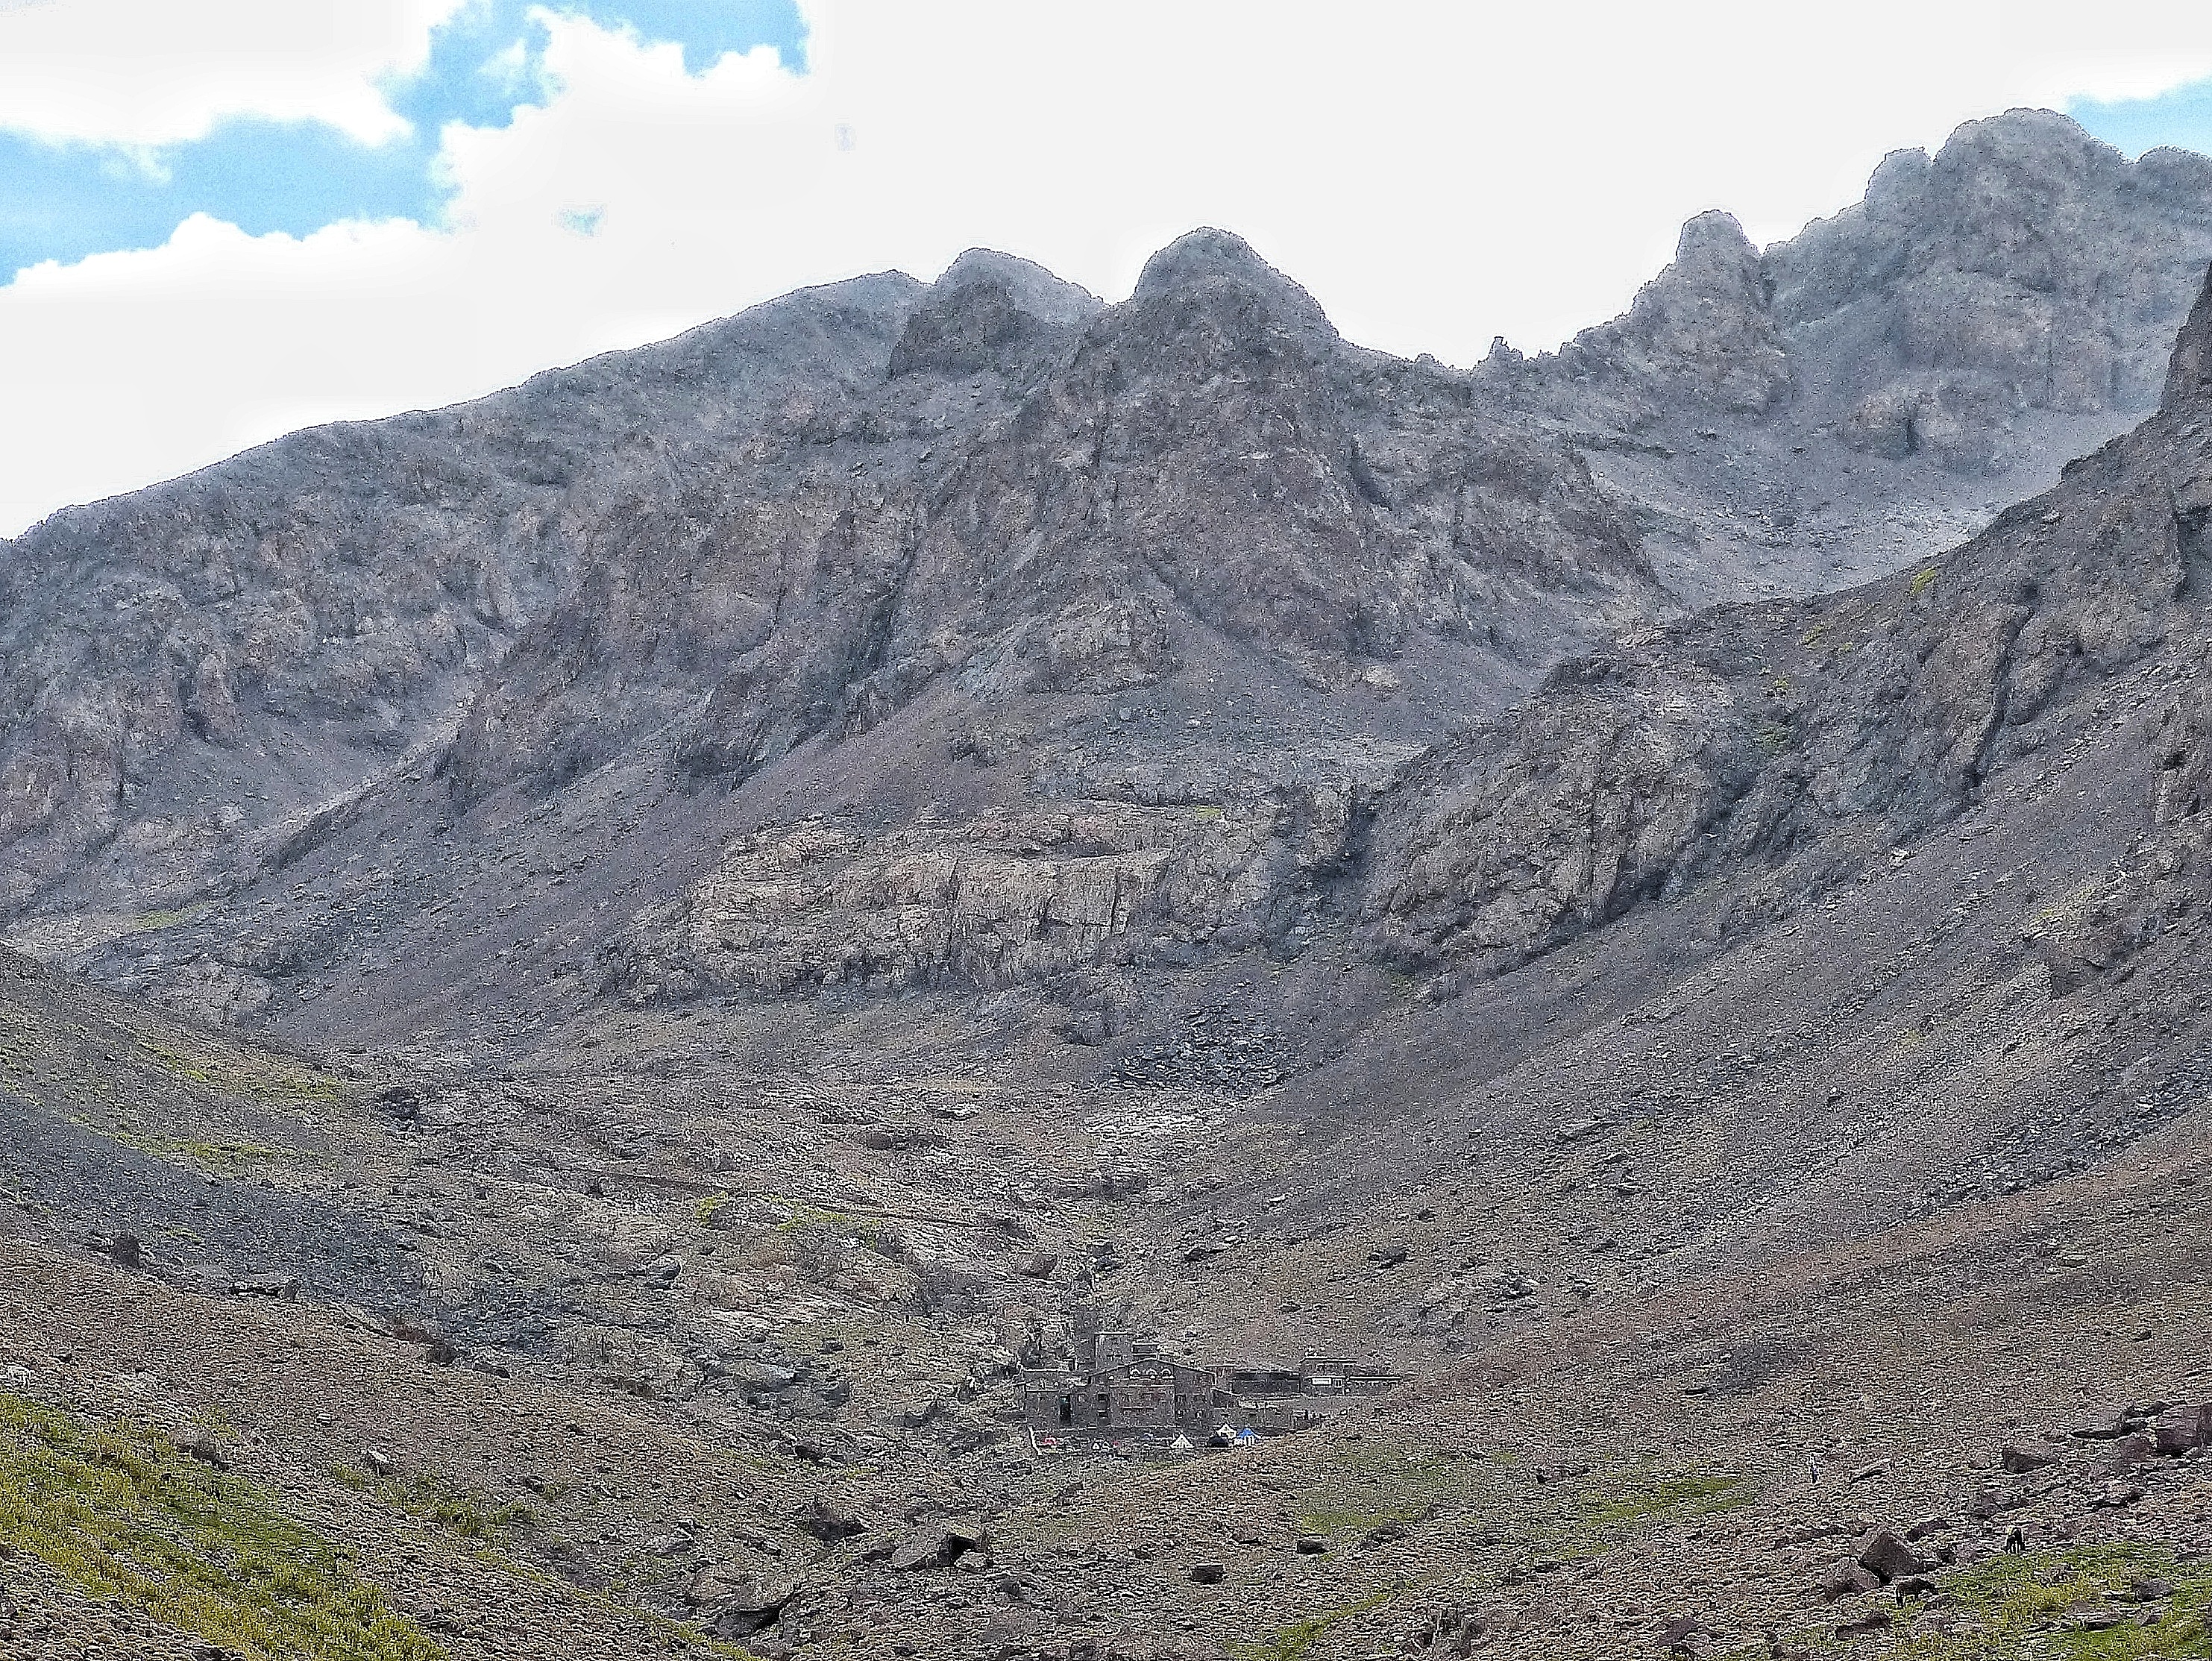
You’ll also have one of the most rewarding views of the day: the refuges!
Stage 6
To continue with the route after having rest you have to turn left just after the second refuge. If you keep following the path that goes straight, you’ll have to return or climb a few rocks to get back to the right path.
Now, to explain you the difficulties and some important information about this stage of the route, I have divided it in two stages.
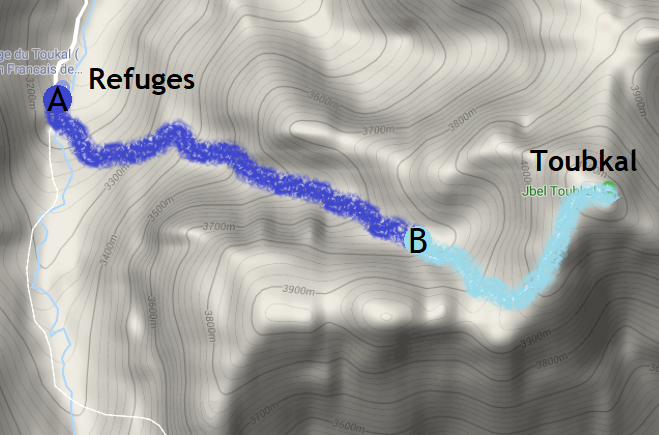
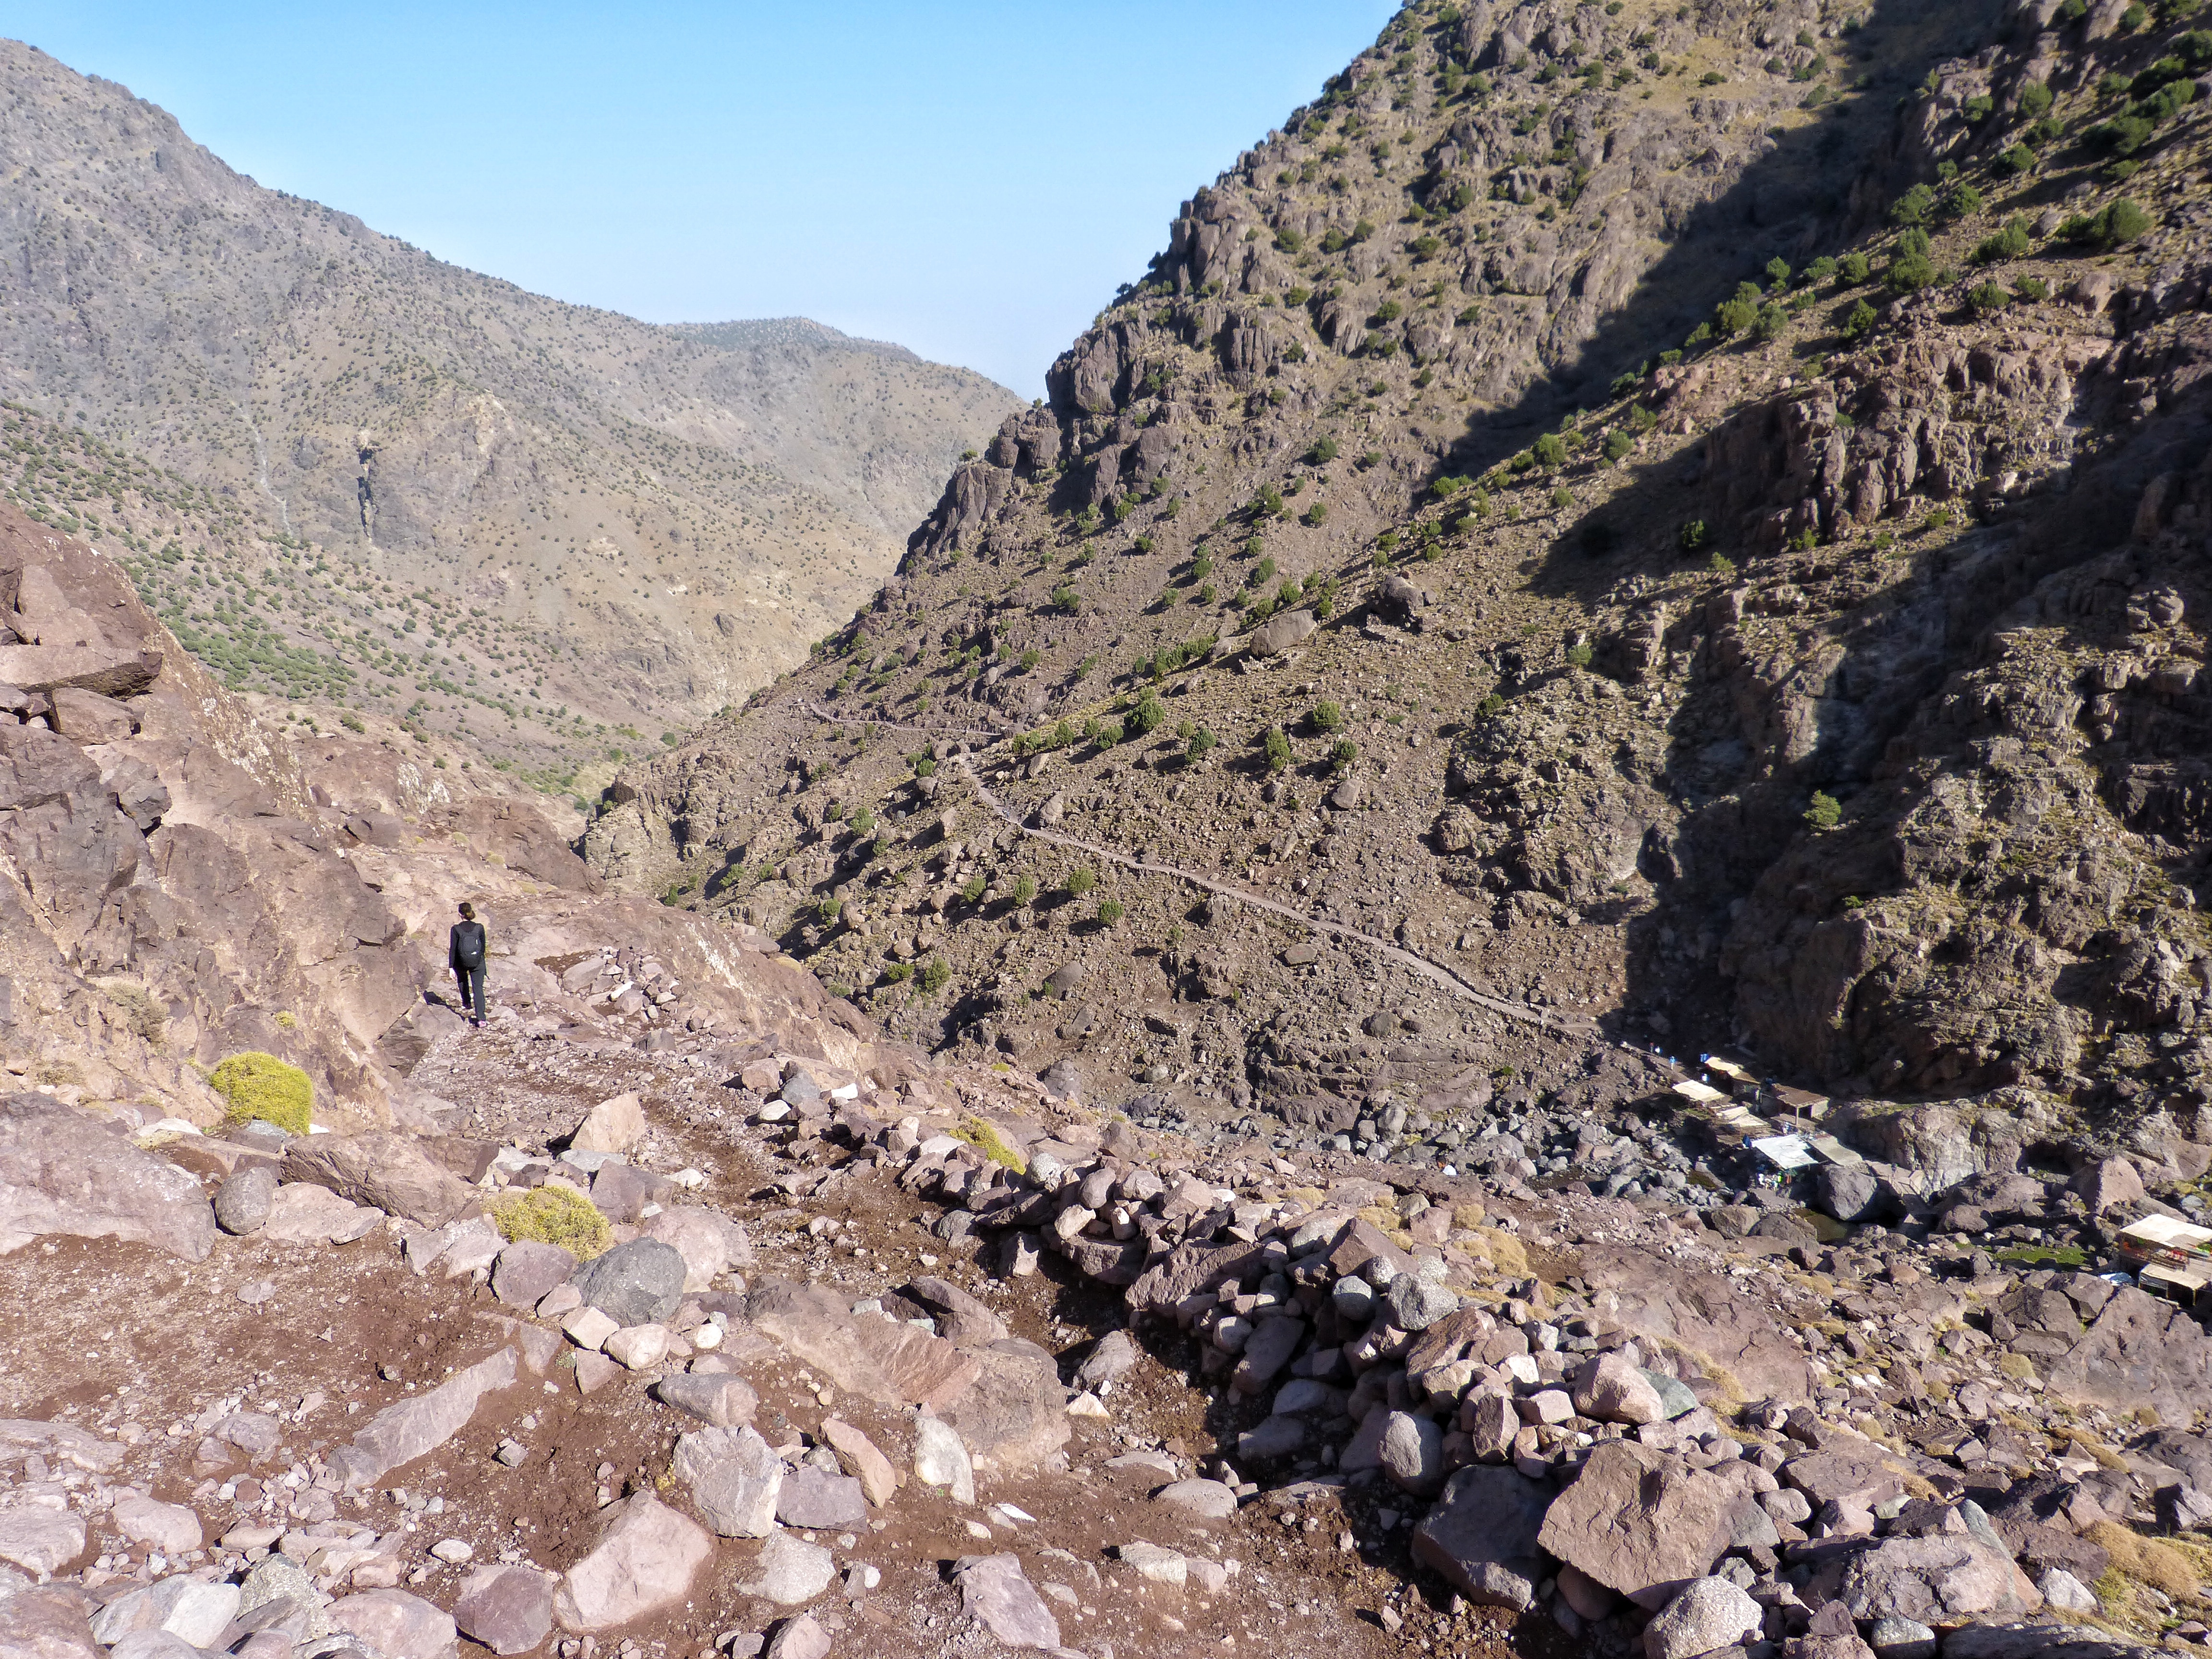
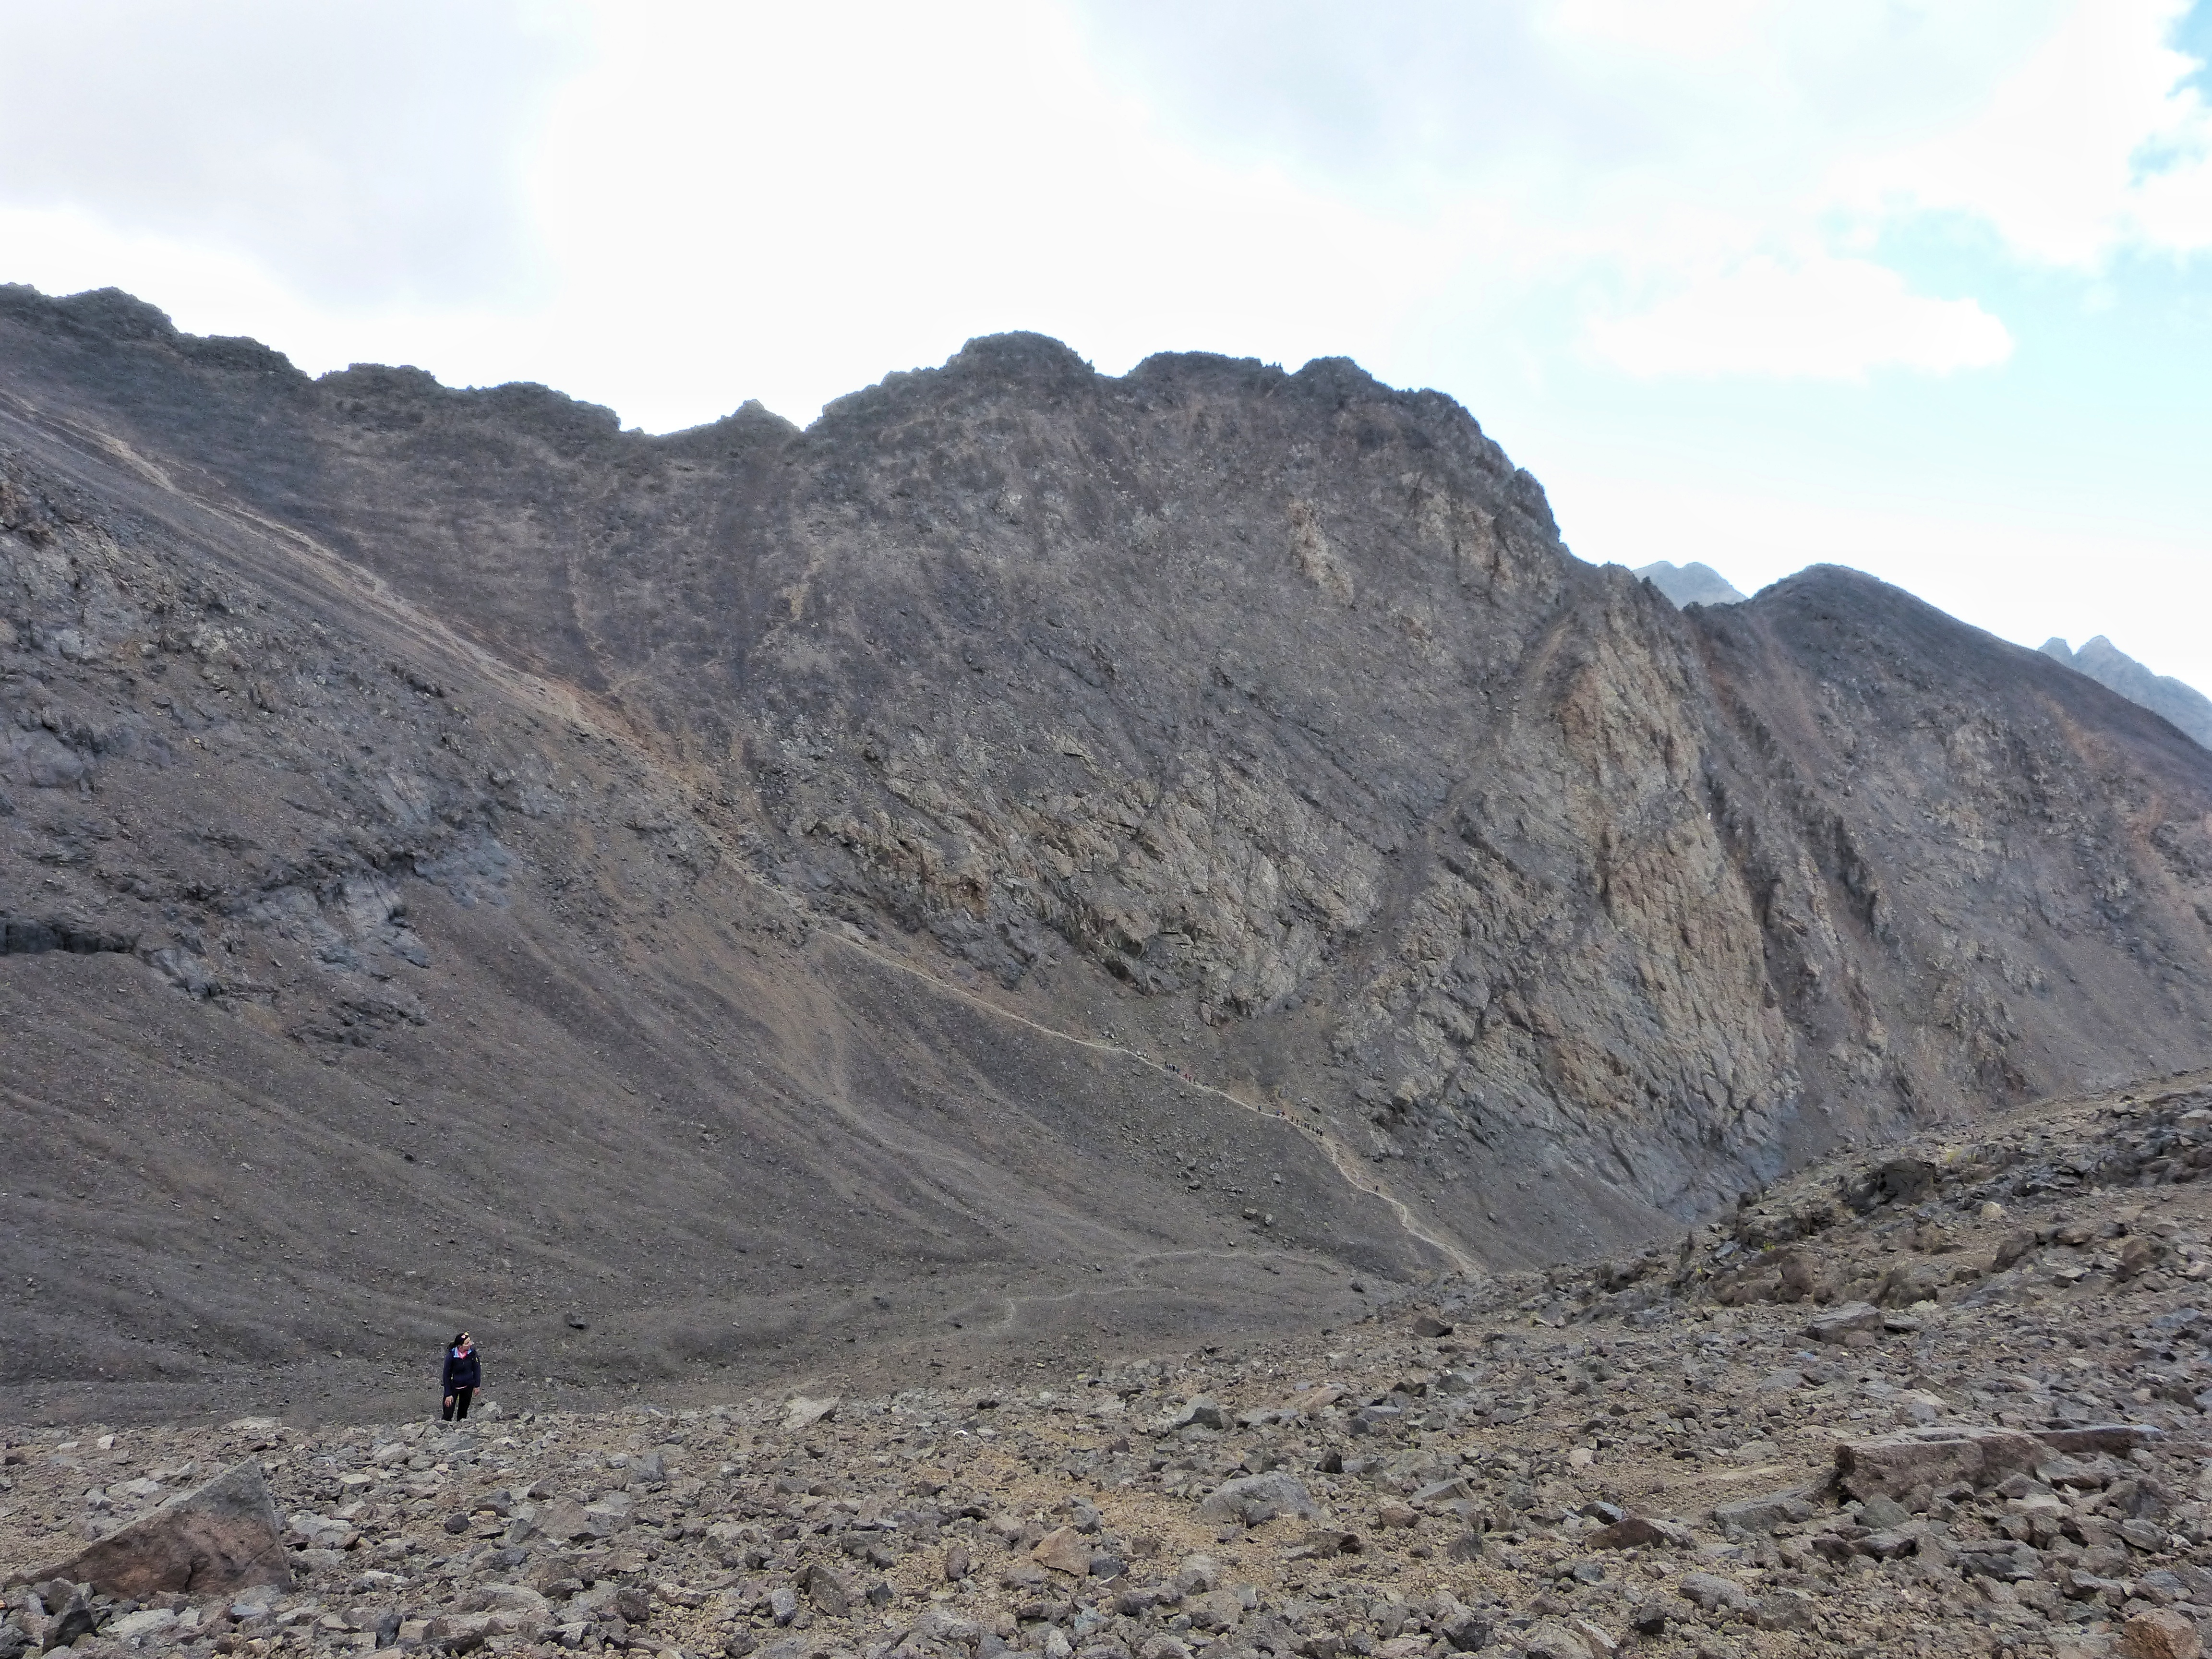
Stage A is the more physically demanding of the both. It starts with heavy zigzags and although that doesn’t last for the whole stage it doesn’t get easier. Expect some parts with a little bit more of inclination that some others, but don’t expect it to be easy. You have to earn it!
The point where Stage B starts is important, because exactly here you have a bifurcation: a scree to the left, a path to the right. You have to go right: the scree only adds unnecessary unworthy difficulty. When descending, try to keep avoiding the scree: all the rocks have different sizes and they don’t behave as in a funny scree.

Bifurcation from above
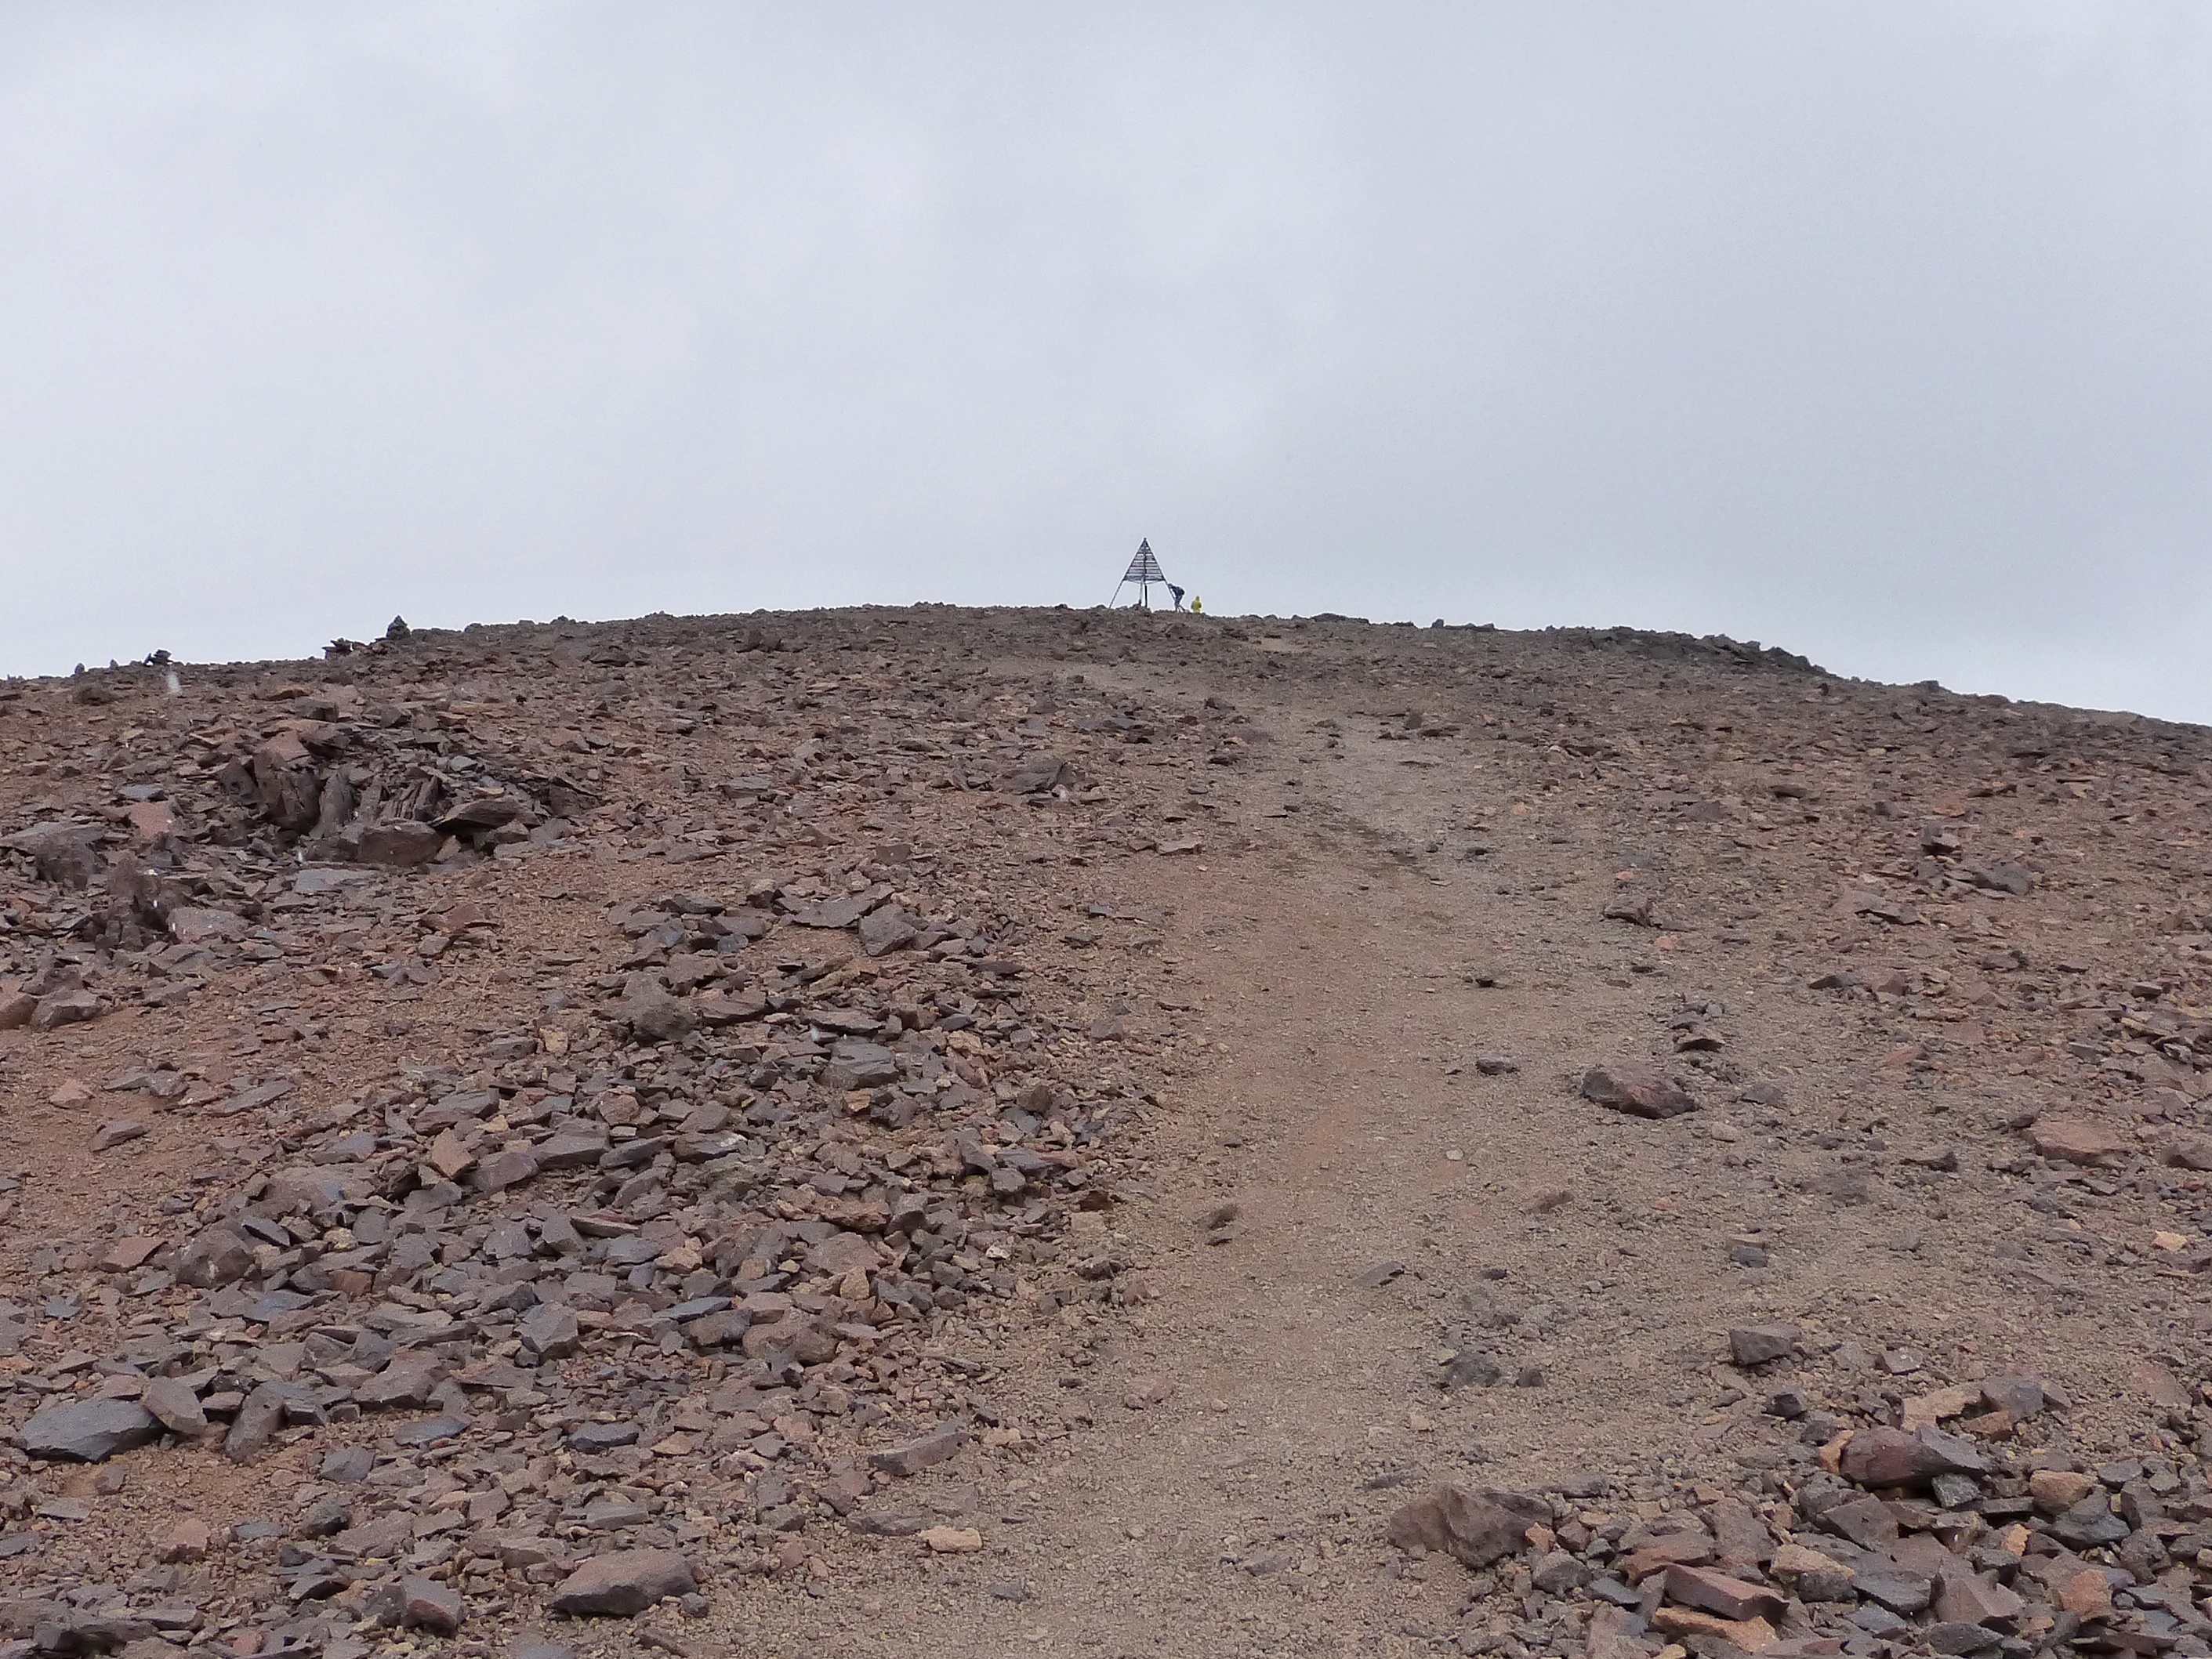
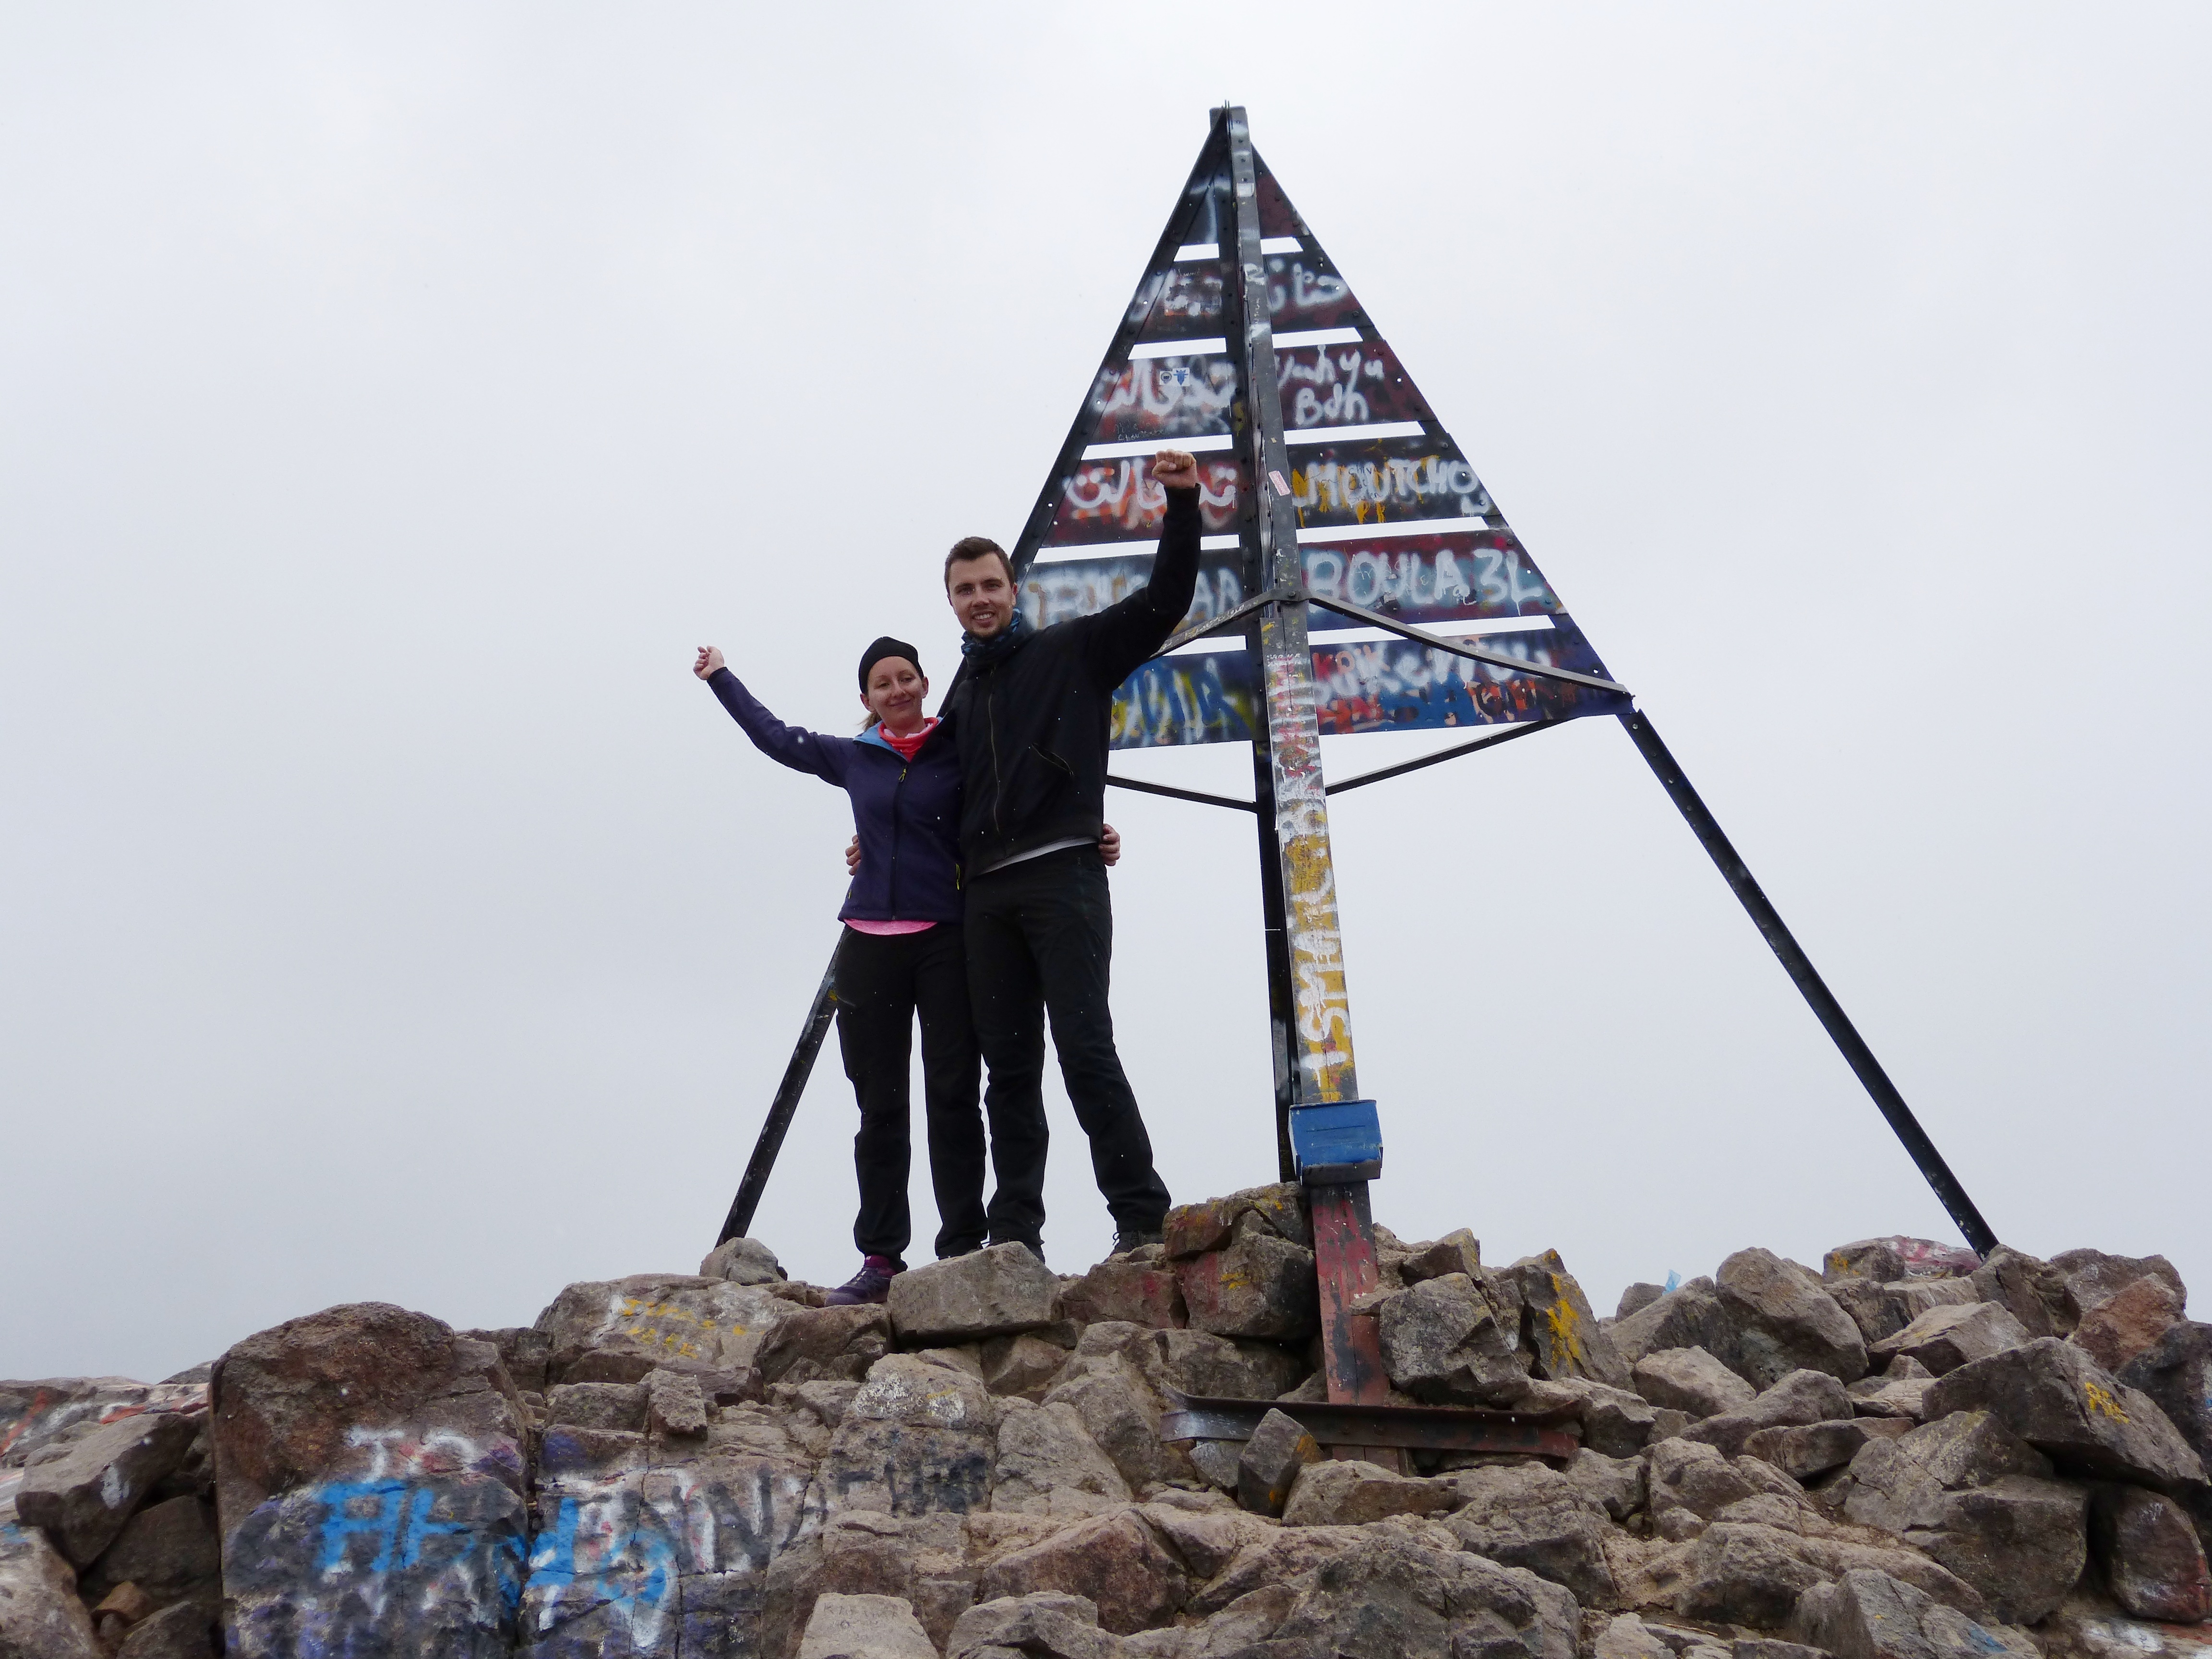
Stage B is slightly easier than the previous one, but you will be more tired and you will be suffering more from the lack of oxygen. However, once you see the characteristic metal triangle that crowns the summit of Toubkal, I guarantee you will forget every difficulty.
2.2. The route by days
Day 1
As you already know, we did the route in three days although the most usual is to do it in two. However, this doesn’t affect the trekking of day one, where you’ll be leaving Imlil and stop to sleep at the refuges.
On day one it is important that you do a proper acclimatization: once you have leaved your belongings at the refuge (3,200 m), you should trek a little more to reach 300 m (approximately) more than that height, wait a few minutes there and then descend back to the refuge. This will help your body to get used to the lack of oxygen.
Day 2
Trekking to the summit and back to the refuge. Our day started way later than most other people’s, because we were among the few ones who where planning on sleeping in the refuge that night too instead of descending directly to Imlil after having reached the summit.
If we had done the hike in two days instead of three, we would have woke up really early to leave the refuge at 4 am (even before the sun!) in order to have time to summiting and arriving to Imlil.
Day two was the hardest for us because we were pretty aware of the tiredness associated to lack of oxygen, but, when descending, it was amazing to feel stronger at every step.
Day 3
It was the easiest and shortest day, only having to descend to Imlil. However, it was a long walk because our legs where already tired from the previous days.
We arrived to Imlil at time for lunch and, after that, we returned to Marrakech to shower and rest.
2.3. Altitude sickness
Altitude sickness is also known as acute mountain sickness (AMS), and it’s a health disorder that presents at high altitude, usually at 2,400 m (8,000 ft). The main symptoms of AMS are headache, nausea and other gastrointestinal disorders, fatigue, dizziness, insomnia, swelling extremities or face and rapid pulse.
For us altitude sickness presented itself in the form of insomnia the first night (although on our second night we slept like babies), fatigue during the second day (when we ascended to the summit) and headache.
It was uncomfortable but bearable: on our first night we slept from 3 am to 9 am without hearing any noise from the other people in the room, so we were rested; the fatigue on our second day greatly improved every time we rested for 10 seconds and gradually disappeared when we descended; and the headache was light -nothing we are not used to.

2.4. Difficulty
Toubkal is not a difficult mountain, but this doesn’t mean that everyone is prepared to climb it. The terrain is simple, the path is easy to follow and the inclination is absolutely doable; but it requires a good physical condition, tons of determination and the ability to walk safely in the mountain.
Toubkal’s main difficulty resides in the longitude of the trek –a total of 30 km (18.8 mi). That’s why this trek is often defined as the ‘Toubkal walk’ instead of the ‘Toubkal trek’.
Another source of difficulty is the altitude sickness you will surely suffer, but we took that as an opportunity to experiment it and it really really was not that bad. Surely we were more fatigued than we should have been on our second day, and we had some difficulties to fall asleep the first night; but neither us nor any other climber we found at the refuge had experimented any serious symptom. In fact, we even met a 10-months baby in the refuge and he was perfectly fine!
All in all, Toubkal is a great initiation to high mountains because it helps you understand how your body will react to altitude sickness at a very low price.
Was this post useful for you? Please let me know and feel free to ask any question in the comments section! You can also support my work and Buy Me A Coffe. I will be immensely happy 🙂